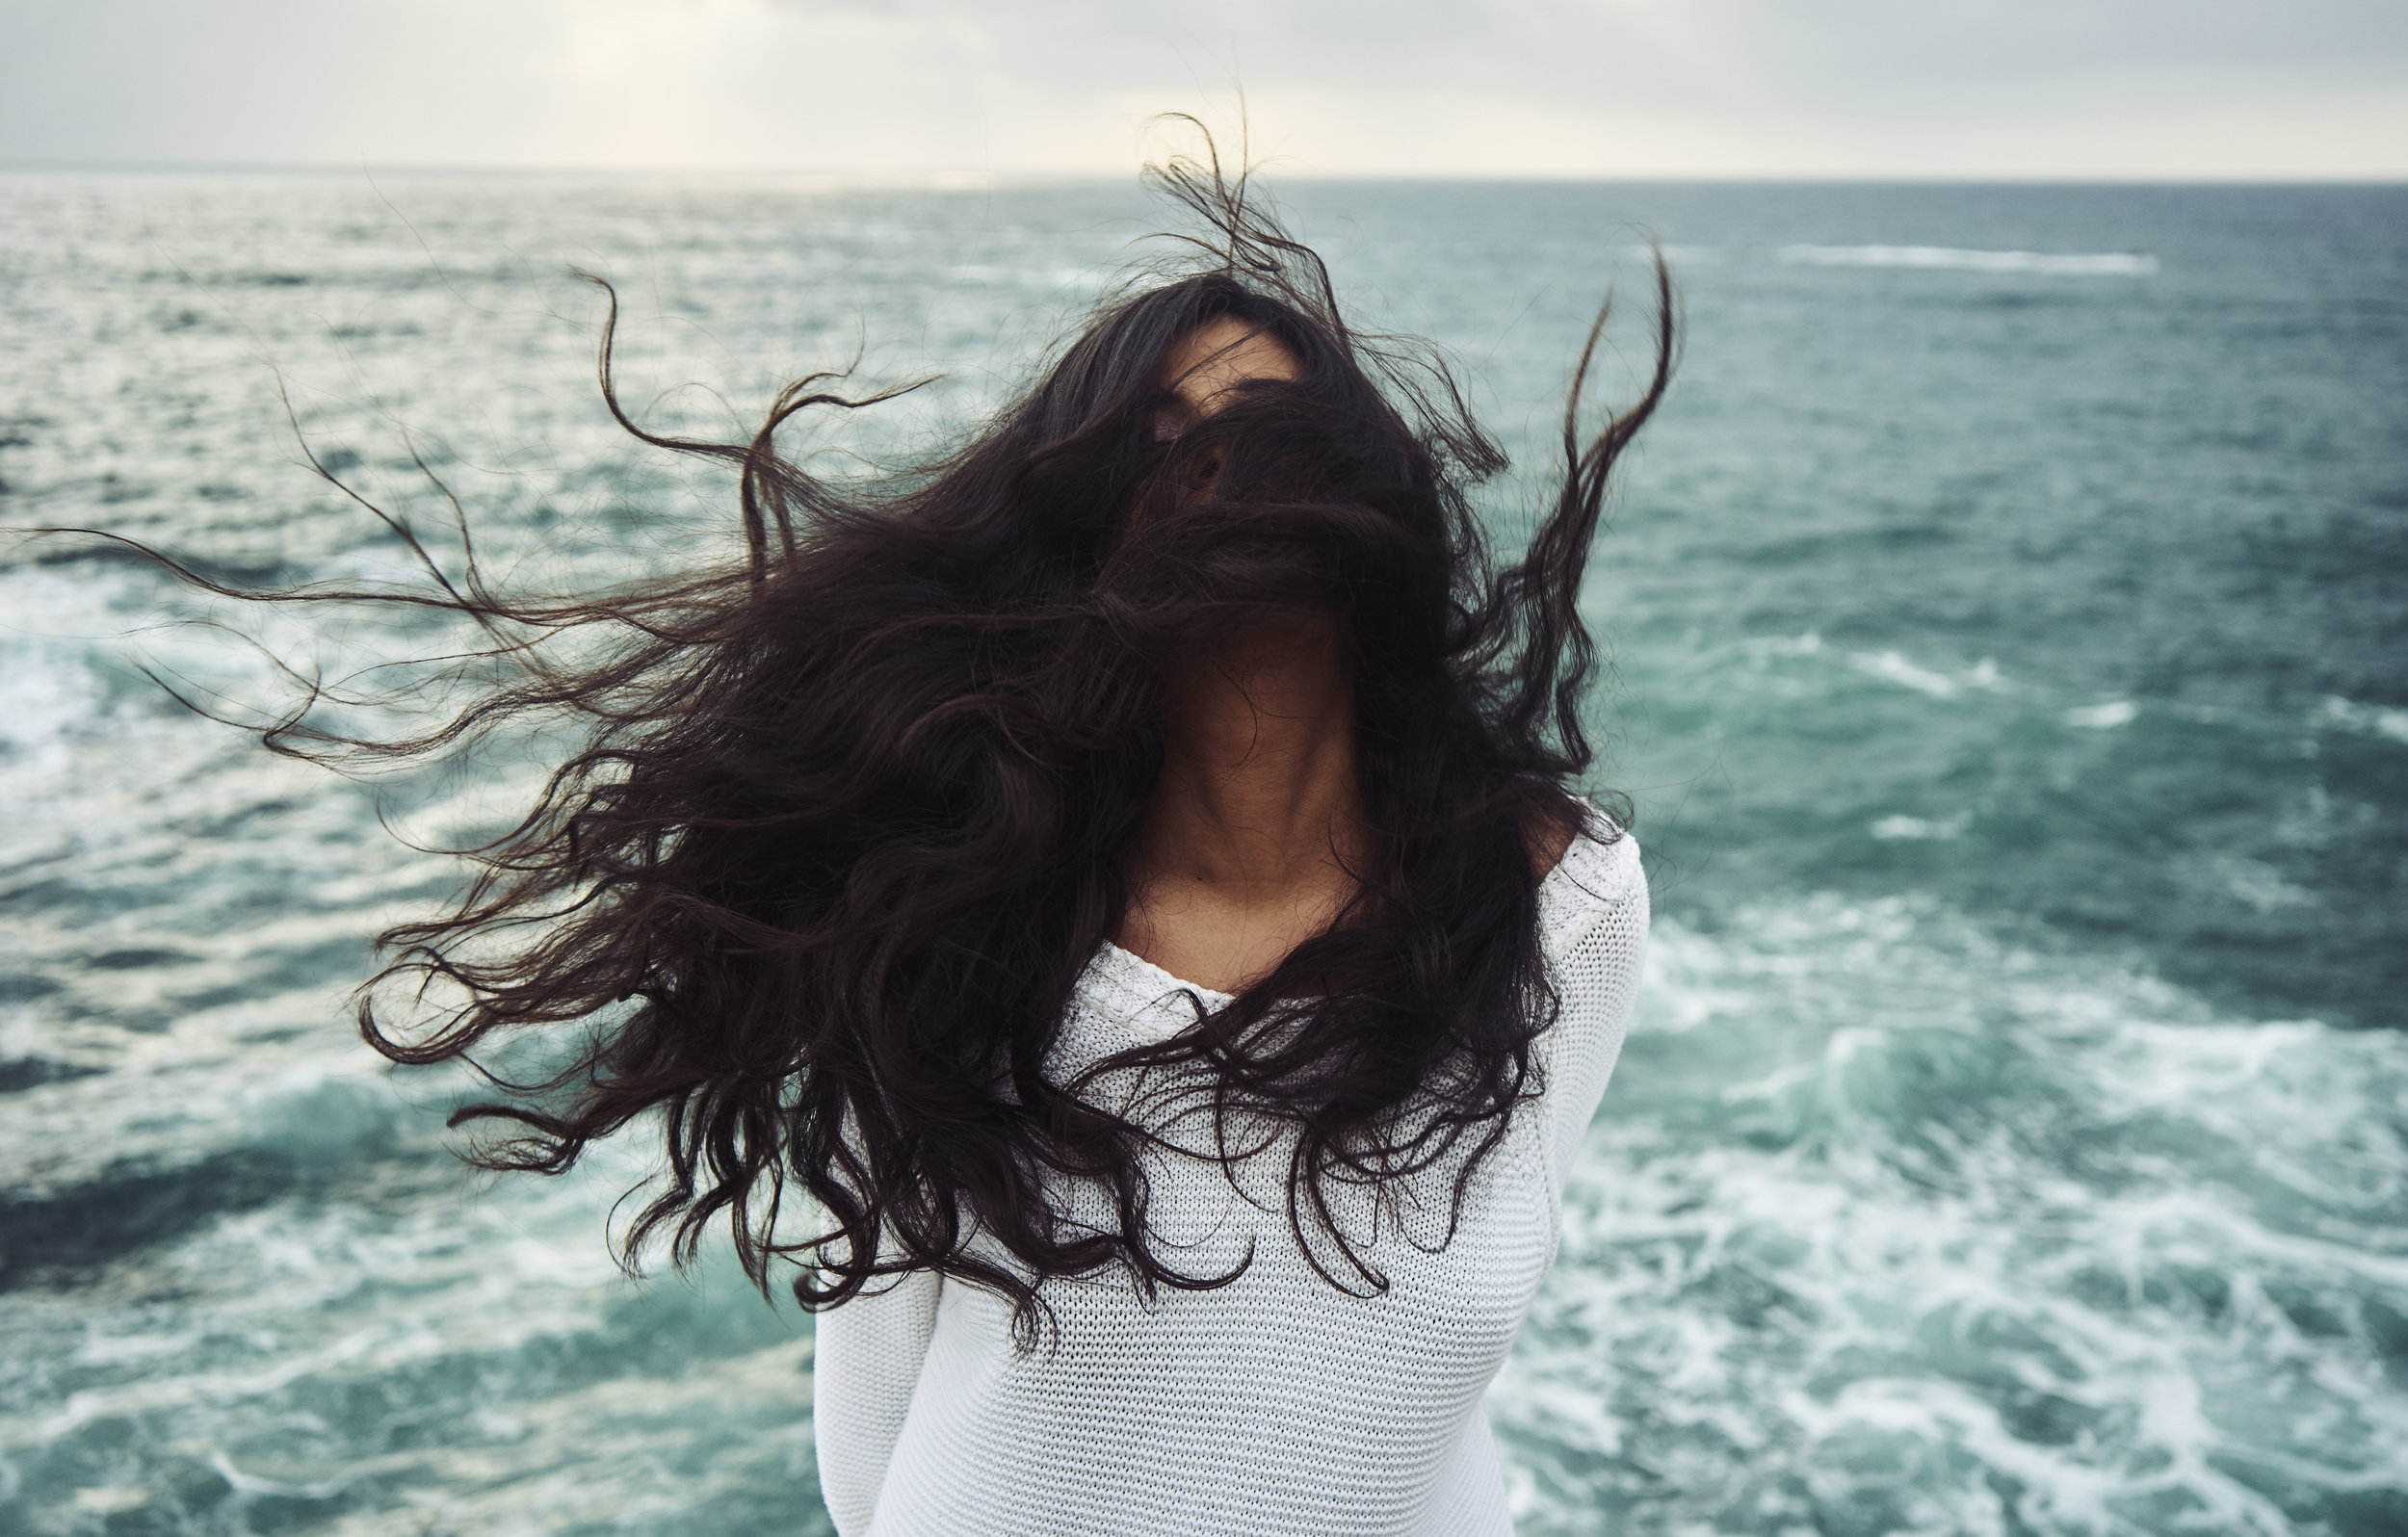
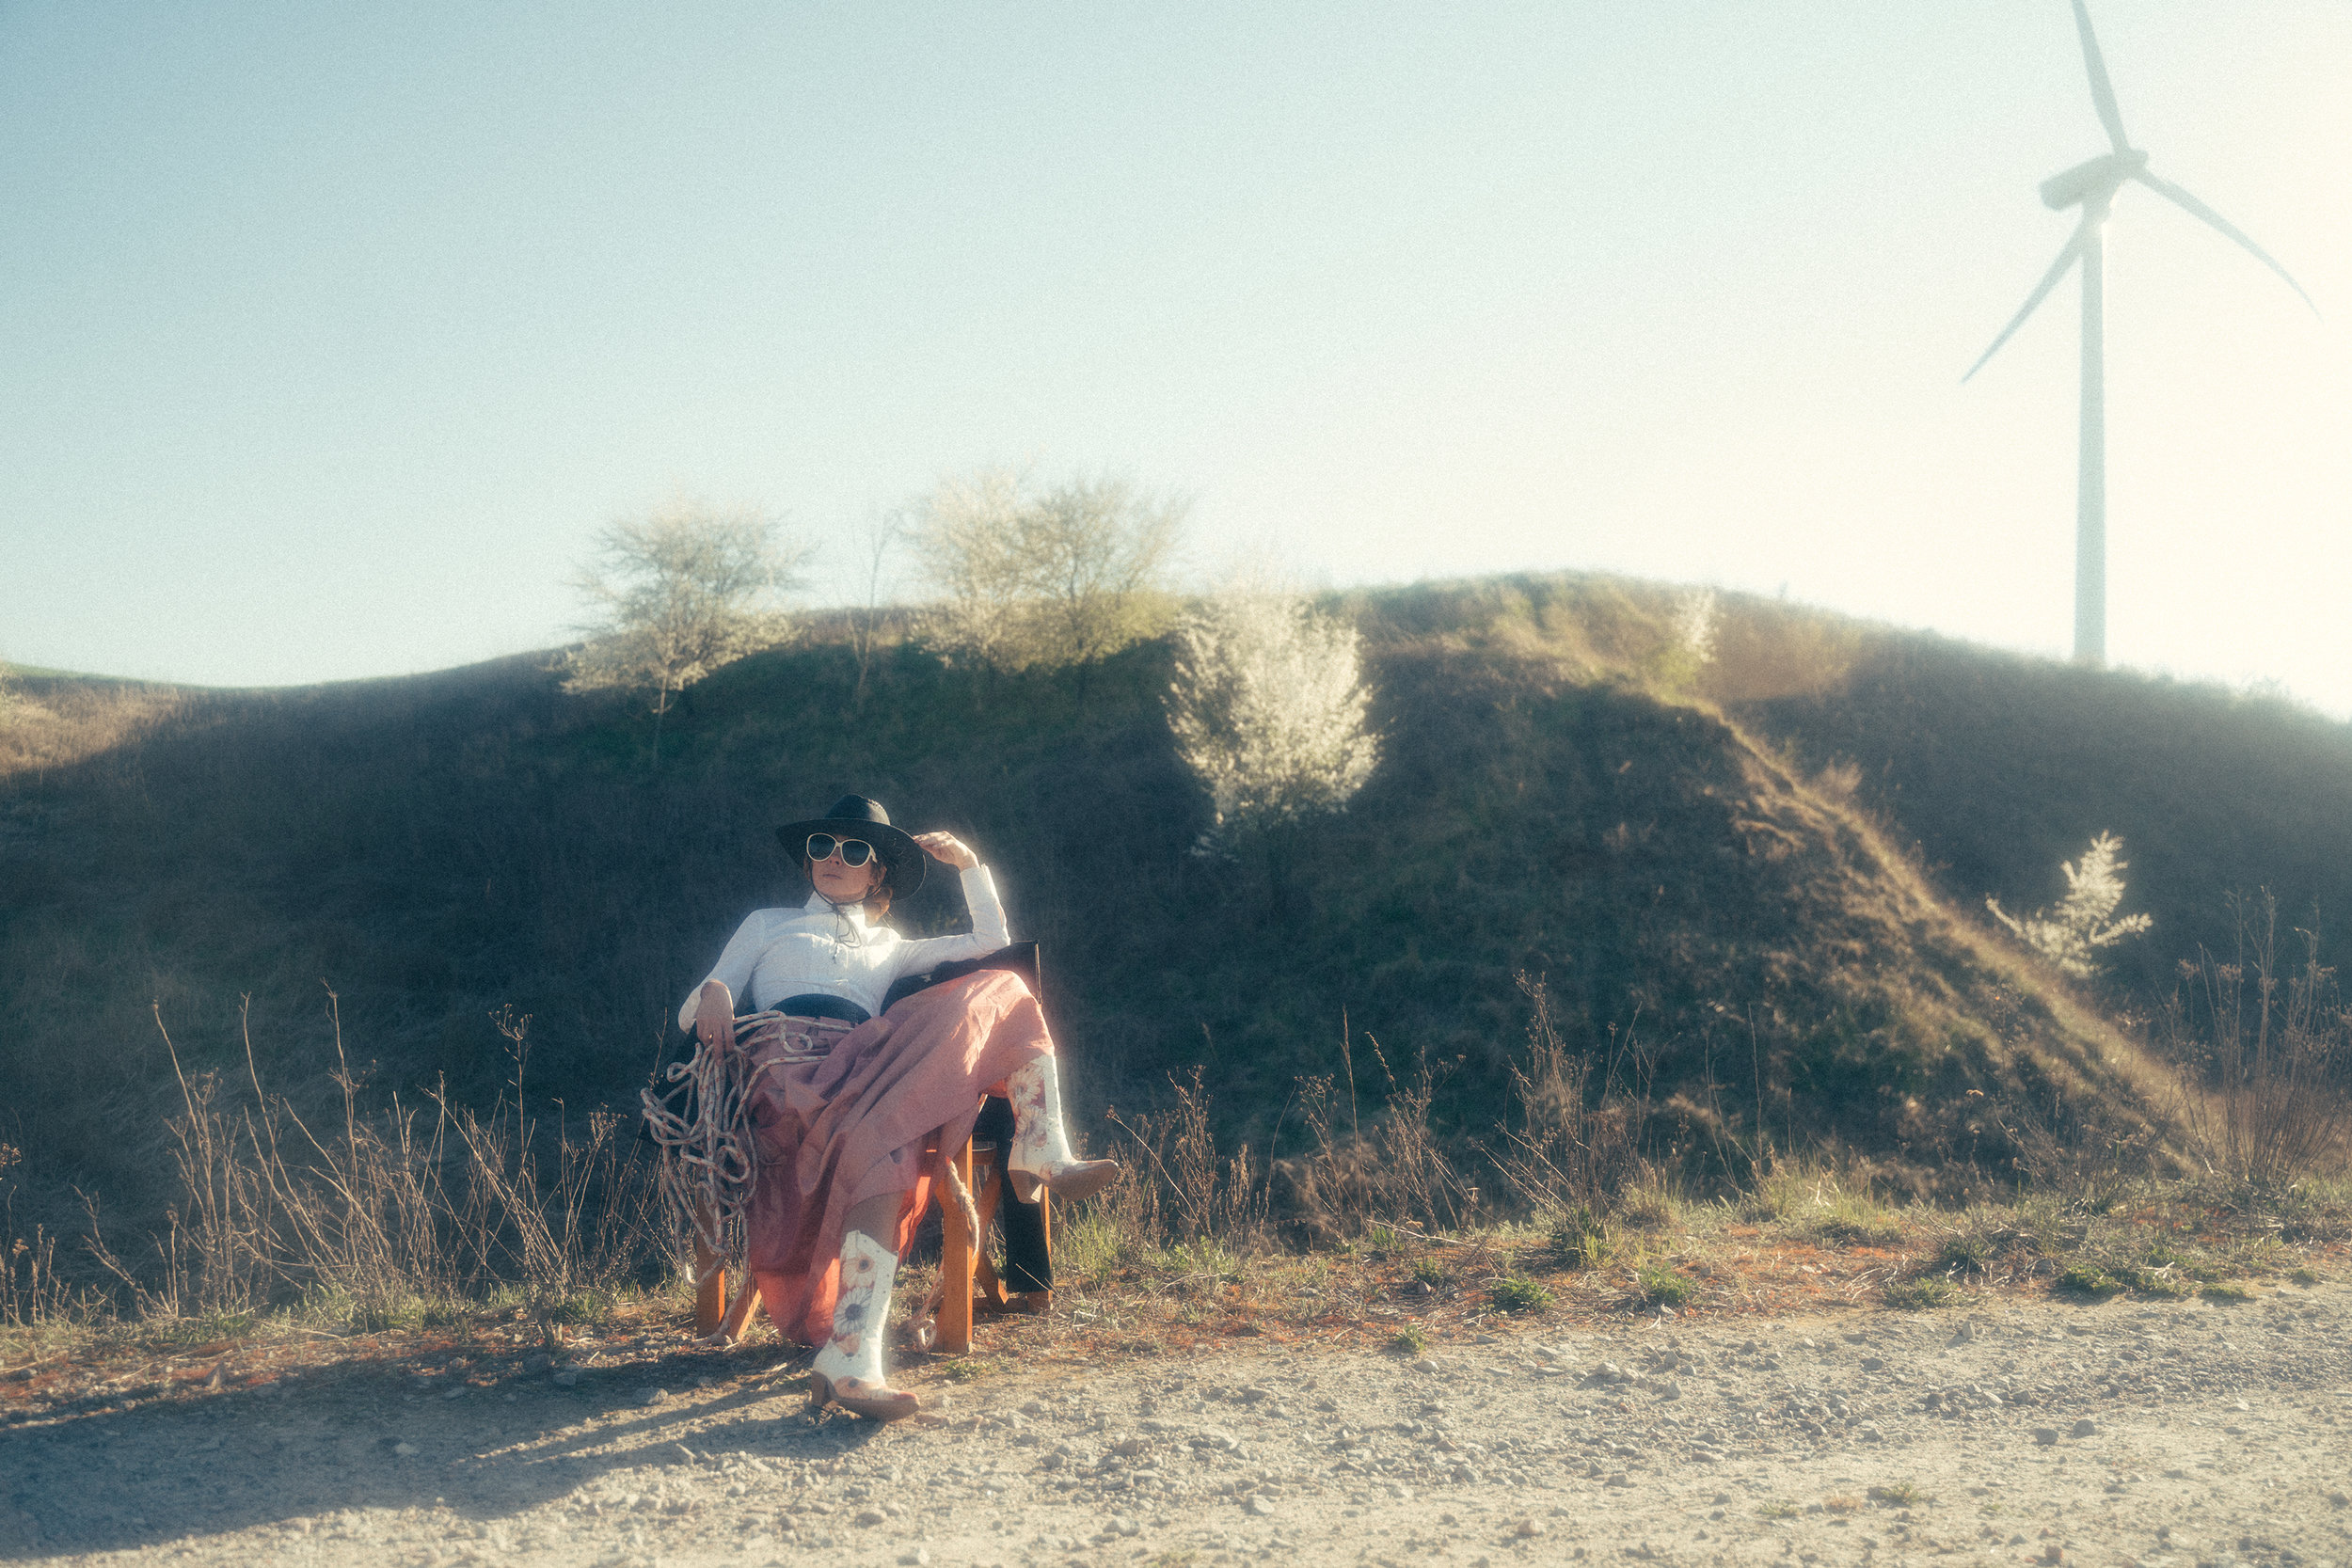
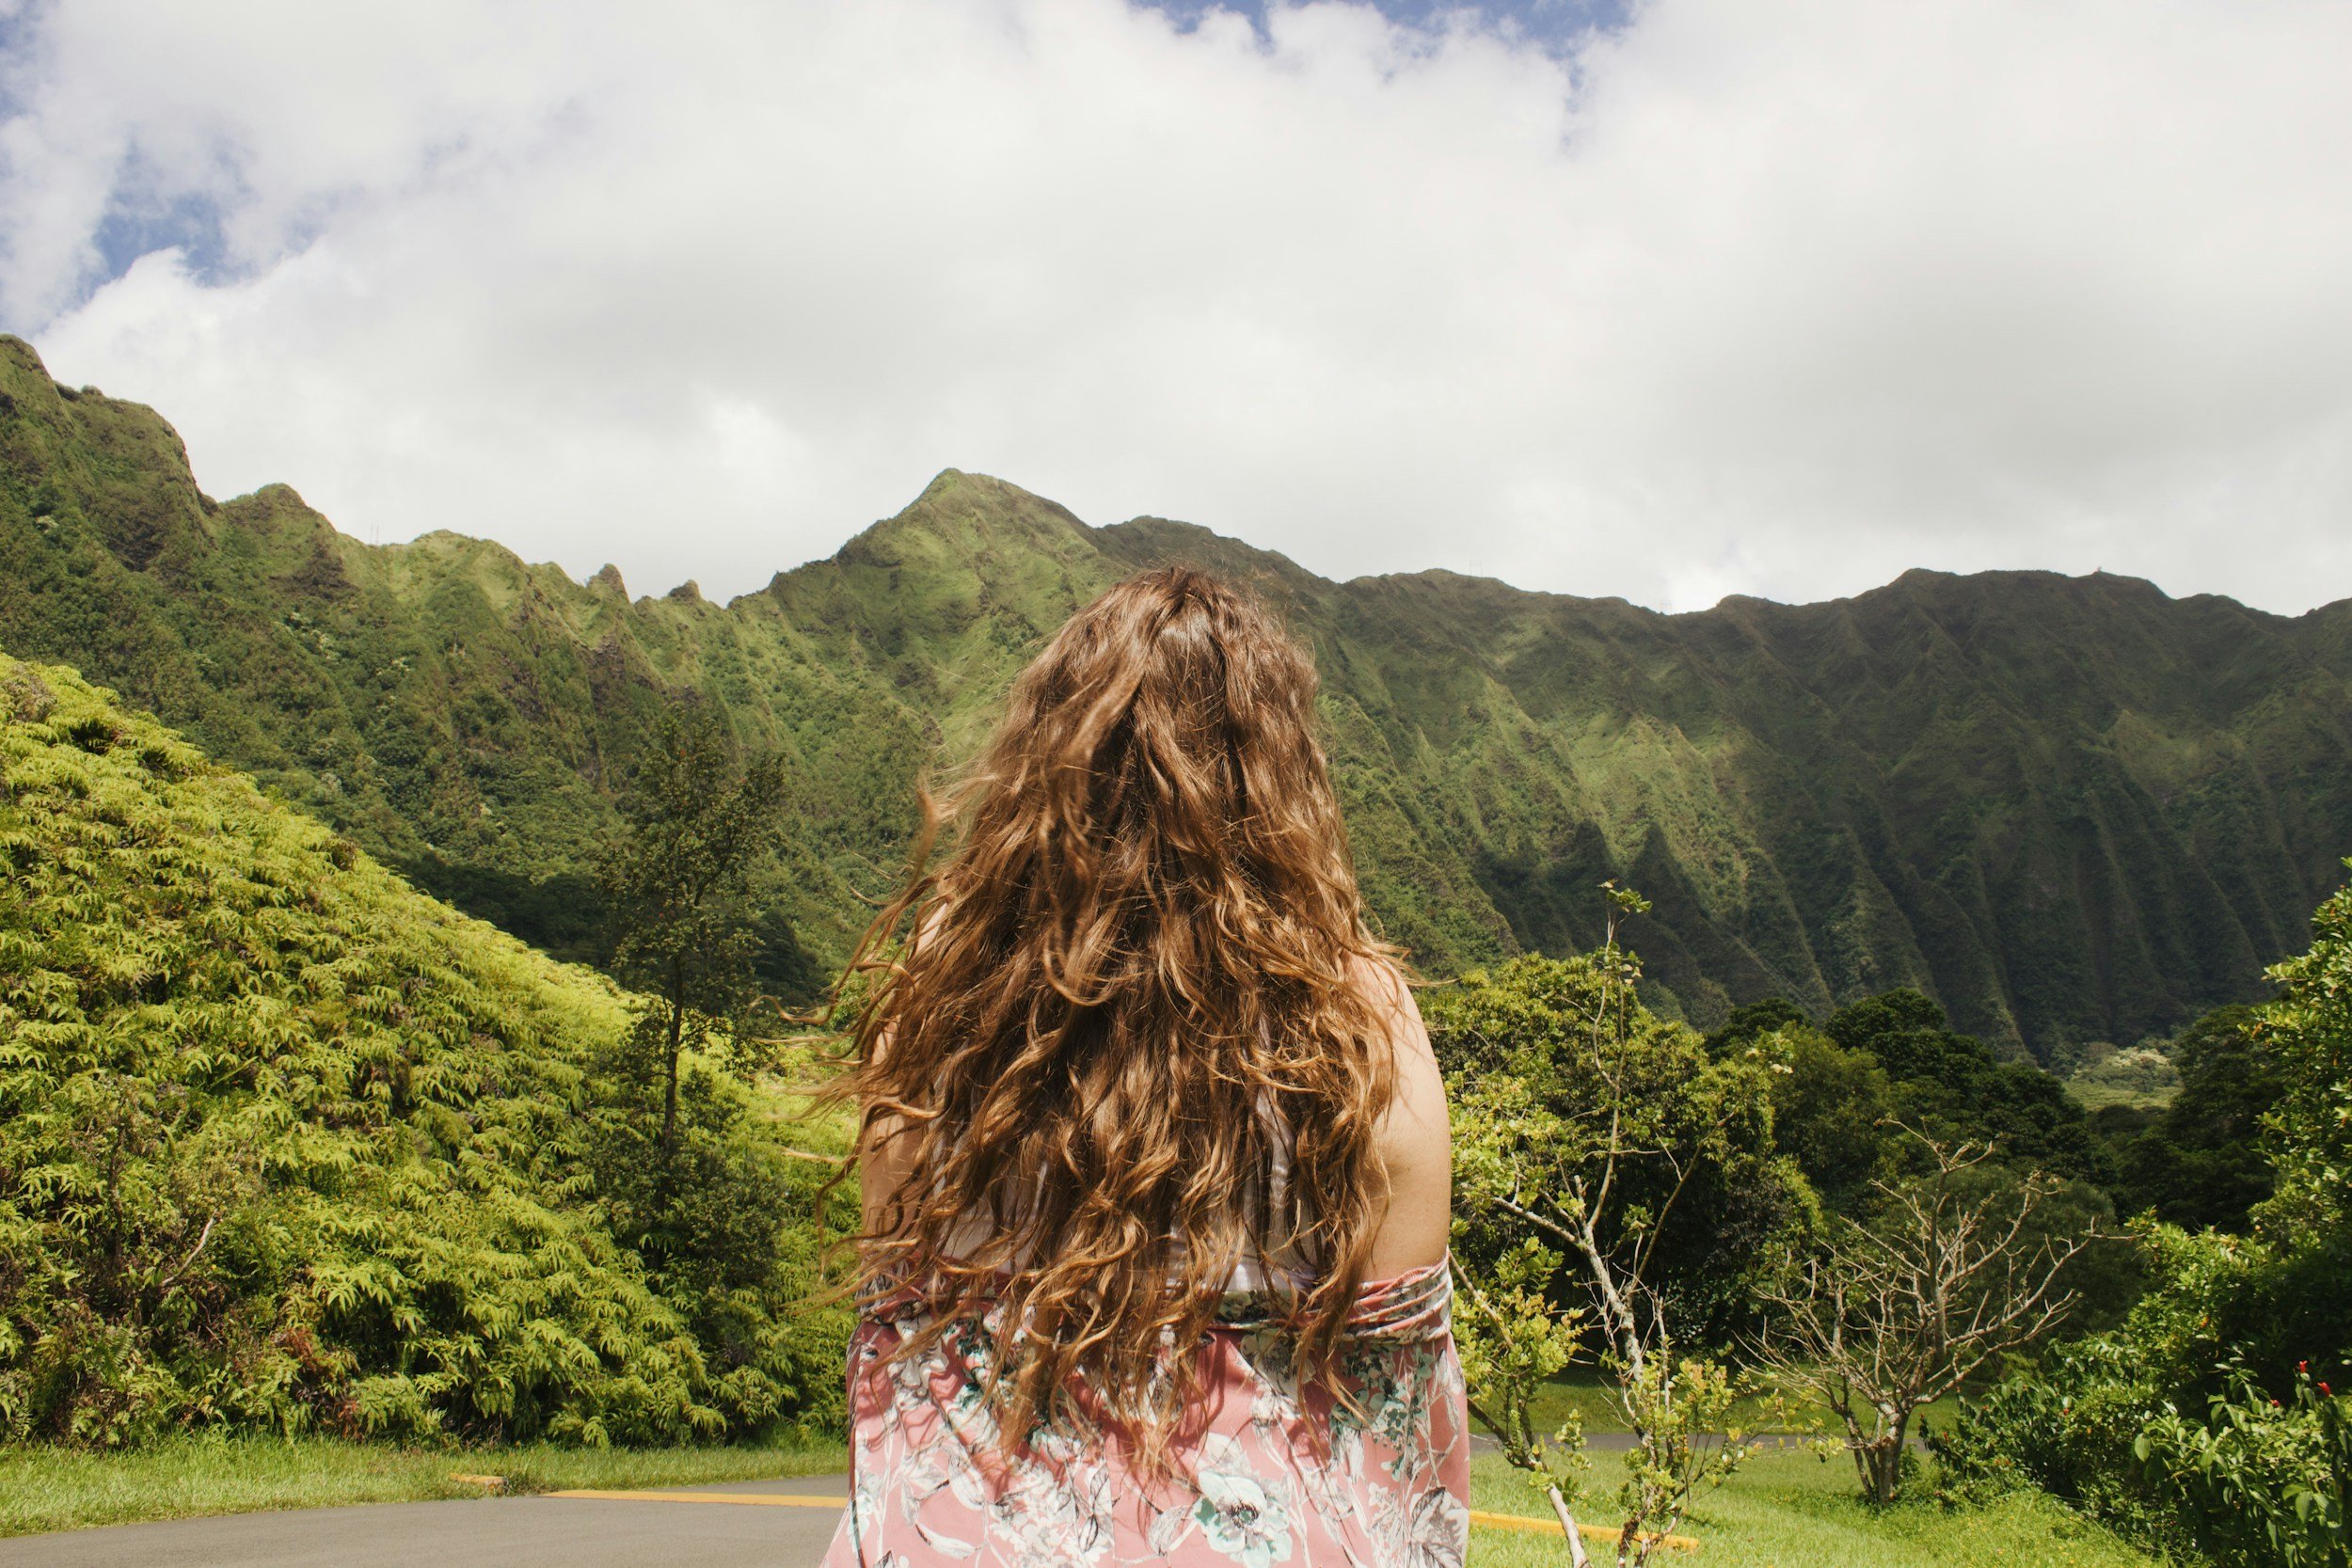
I Tried DevaCurl to Fix Damaged Curly Hair. Here's What Happened.
Struggling to manage your curly hair while travelling? You’re not alone! Curly hair gets all kinds of dry, frizzy, and knotted while on the road, so I tried the holy grail of curly hair products to see if it’s really worth the hype. Here’s my DevaCurl review.
Struggling to manage your curly hair? You’re not alone! My curly hair was so dry, frizzy, and knotted after years of travel and chemical damage, so I tried the holy grail of curly hair products to see if it’s really worth the hype. Here’s my DevaCurl review.
UPDATE: DevaCurl has recently been accused of putting a bunch of nasty chemicals in their products. You can find out more about it here. I am not affiliated with DevaCurl - this is an authentic review with my honest opinion but, if the accusations end up being true, I will stop endorsing them. I haven’t used them for a while because, well, given the allegations I’m a bit concerned. But if you’re interested in reading my original review, I’ve left it below.
Endorsed by a slew of Instagram and YouTube Curly Girl Method devotees, DevaCurl is said to be the cream of the crop when it comes to curly hair.
Based on the theory that curly hair is more porous than straight hair, the Curly Girl (CG) Method states that washing your hair with regular shampoos is akin to washing your hair with dish soap. And when you look at the ingredients of each, they’re scarily similar.
Both contain an ingredient called ‘sodium laureth sulfate’ – a harsh detergent that strips away the oil on a fry pan, just as it strips away the natural oils on your head. You may wash your hair because it looks too oily, but you do need some oils to stick around – just like the natural oils on your skin, natural hair oils act as a natural moisturiser that your scalp and hair need to be healthy. Removing them completely strips your hair of its natural vitality and shine.
To combat the damage caused by the sulfates, generic conditioners contain silicone, which is kind of like plastic. There are all sorts of silicones in conditioners, and they’re used to coat your hair give it the illusion of shine, but in actual fact silicone is coating your hair your hair so it’s impenetrable by anything except sulfate. This means your hair looks shiny, but can’t absorb any moisture.
As you’ve probably guessed, DevaCurl is completely void of all those chemicals, along with most alcohols and parabens. Instead, it contains natural oils and botanicals that supposedly leave your hair moisturised and healthy, while encouraging your natural waves or curls to spring in to shape.
As someone with a head of moderately traumatised curls induced by travel, bleach, box dye, a lack of nutrition, cheap products, and intense brushing, DevaCurl looked like the holy grail and the solution to all my problems.
(Note: There are some affiliate links in this post, but clicking on them won’t cost you anything extra, and you’ll just get some extra karmic points :) This is not sponsored, and all opinions are my own. Read more about that here.)
DevaCurl: A Review
Before
I have a lot of hair with natural volume, but the strands themselves are quite thin (I believe the technical word is fine). It tends to be quite curly underneath and, when it’s healthy, the curls are more ringlety. Before starting my curly hair journey, it was so, so dry and damaged, with weird straight bits that weren’t straight when I was younger.
Poor nutrition, years of dumping chemical-riddled box dyes in my hair, and two rounds of bleach bleach killed my natural curls, leaving a dry and stringy mess after every wash.
On top of that, my hair freaks out every time it’s introduced to a new climate. It really, really didn’t like the hard and highly-chlorinated water in England, just as it hated the cold in Canada. My curls were gone.
No amount of keratin treatments or deep conditioners made a difference, and I felt at a loss. As a last resort, I took to Google, stumbled across the Curly Girl Method, and decided I had nothing to lose.
After gawping at the cost of each product on devacurl.com, I jumped on Amazon and ordered the DevaCurl Miracle Workers kit, which included:
No-Poo Original
(moisturizing, non-lathering formula that stimulates and cleans the scalp without stripping your hair)
One Condition Original
(rich, creamy conditioner that delivers softness and hydration)
Buildup Buster
(powerful cleanser using micellar technology to gently remove buildup from the hair and scalp without stripping)
Melt In To Moisture Mask
(nourishing mask that melts weightlessly into every strand, infusing hair with moisturizing matcha green tea butter, vitamin-packed sweet almond oil and protective beet root extract)
Deep Sea Repair Mask
(reviving mask that transforms damaged hair with restorative seaweed, a strengthening blend of rice, soy and wheat proteins, as well as moisturizing sea lavender)
I was so excited I couldn’t move.


Pre-wash
The first thing you need to do is remove all the silicone from your hair so it can absorb moisture again. As silicone is not water-soluble, the only thing that will get it out is sulfate, or a good clarifier.
This means you can use a regular shampoo with sulfates before moving on to a CG-friendly conditioner, but I didn’t want to risk doing even more damage to my hair, so I opted for Buildup Buster. According to DevaCurl, Buildup Buster is a strong enough clarifier to remove silicone.
The difference between CG-friendly shampoos and regular shampoos is, because CG products don’t contain sulfates, they usually don’t foam up. The Buildup Buster was a little like using regular shampoo, but of course it didn’t foam. It actually didn’t feel like it was doing anything, but I scrubbed it all over my head hoped for the best, before moving on to the No-Poo.
Wash 1
After clarifying with Buildup Buster, I squeezed a pile of No Poo in to my hand, and the first thing I noticed was how thick it was. It has the consistency of conditioner, which isn’t really something you expect from a shampoo.
DevaCurl recommend using your fingertips to rub the No-Poo into your scalp, rather than lathering all your hair in to a giant ball like you would with a regular shampoo, so that’s what I did. It’s pretty weird using something that doesn’t lather and I did wonder whether it was actually cleaning my scalp, buuut hundreds of reviews suggested it was, so I stopped thinking about it and pressed on.
I could feel my hair start to detangle immediately. It was kind of amazing, and it literally smelled like a bunch of flowers.
After rinsing, I coated the ends in One Condition and detangled with my fingers, which was surprisingly easy. My fingers slipped through my damaged hair more effortlessly than they had in years. left it in for a few minutes, then rinsed it out.
Using a microfibre sports towel (also recommended by the CG method), I scrunched the water out of my hair, then wrapped it up and left it in the towel for 15 minutes.
Drying
After taking my hair out of the town and letting it fall naturally, I immediately noticed a difference.
Even when it was wet, my hair was 1000-times curlier than it had been in years. As it dried, the curls only enhanced. It actually felt mousturised rather dry, limp, and lifeless, and retained it’s shape. Even the bleached ends had twisted up in to tight coils, bouncing when I pulled them, and looking shinier and healthier than ever.
I was kind of floored.
Result
The end result of my DevaCurl experiment was pretty surprising.
The curls were defined, bouncy, and felt healthier than they had been in years. It really highlighted for me why my hair had been such a disaster for so long – sulfates make a massive difference to the overall health of your hair, drying it out of the course of years.
The ends of my hair were so damaged (the lighter/coppery parts in the photo above) that I found the One Condition wasn’t quite enough, so I alternated between different deep conditioners every time I washed it. Melt In To Moisture was a go-to because, according to the directions, it doesn’t need to be in your hair for as long, but ultimately I found the Deep Sea Repair was better.
Even though keeping the Deep Sea Repair in for 20-mins is recommended, I found it made a difference almost on contact. My fingers were literally gliding through my hair when I used this products, and I could feel the difference in my hair afterwards. It took longer to get knotty, and held it’s curl for much longer.
Ultimately, you can’t ‘heal’ chemical-damaged hair – you just have to chop it off – but if you’re like me and want to avoid having super-short hair, DevaCurl helps you maintain your hair until it’s long enough to chop. The ends always looked rubbish again the day after wash day (dry, stringy, lifeless), but no product could have fixed that in the long-term so, all things considered, DevaCurl did a pretty remarkable job at keeping the damage at bay.
After the first week I decided I would 100% buy it again.
Pros
After finally chopping all the damage off, I noticed a huge difference in the overall health of my hair.
For the first time ever (including when was a teenager with healthy hair), I had no split ends whatsoever. The curls held their shape for days, I could get away with not washing it for a week and it didn’t get all knotty and dry, and it looked about 1000-times better.
The Deep Sea Repair also acts as a protein treatment, which is a huge bonus, and the products are cruelty-free, vegan, very high-quality, and actually enhance your curls. It’s kind of incredible. The No Poo is also so moisturising that you could probably get away with only using it as an all-in-one product, without conditioner.
Cons
DevaCurl is pricey.
You can get it a little cheaper on Amazon and at some online retailers, but it’s still around $25-35 per bottle, and they don’t ship to Australia. BIG thumbs down.
The only other issue I have with DevaCurl is it’s very heavy and weighs my hair down enormously.
Since it’s largely developed for people with African-style curls that can handle a lot of extra moisture, my fine hair couldn’t really deal with the No Poo or Low Poo (the lighter alternative for wavy hair). It ended up feeling greasy, all my natural volume was gone, and it took an additional three hours (five hours in total) to dry due to the extra moisture. Not a deal-breaker, but I did look in to alternative shampoo options.
The Verdict
Despite the price and the fact that the shampoo is too heavy for my hair, I would absolutely recommend DevaCurl to anyone struggling with their curls or waves, while travelling or in every day life.
It adds an incredible amount of moisture and shine, and really does help your hair maintain its curl for much longer.
On top of that, the ingredients are great for your hair! DevaCurl doesn’t contain any sulfates or drying alcohols, and you really can tell the difference. This whole process taught me to look at what’s in hair products and think about what I’m putting in my hair, and even though DevaCurl shampoos are too heavy, I still use the One Condition and Deep Sea Repair because they make such a difference to the overall health of my hair. It’s kind of amazing.
While it’s not carry-on friendly for travellers, it’s still worth a shot if you’re really looking to improve the heath of your curls or waves. Having said that, there are sulfate-free carry-on options if that’s what you’re in to, and you can check them out here.
Interested in trying DevaCurl? You can get it on Amazon or NaturallyCurly, and let me know how it goes in the comments!
Like it? Pin it!

You Might Also Like…

The Best Gym Quotes On The Internet: Motivate Yourself To Workout When You Don't Want To
Gym quotes can be a bit hit and miss, but sometimes they’re just the thing you need to get you moving so I’ve compiled the best ones I could find on the internet. Feast your eyes!
Gym quotes can be a bit hit and miss, but sometimes they’re just the thing you need to get you moving so I’ve compiled the best ones I could find on the internet.
I find some gym quotes a bit self-deprecating, like they’re telling you that you’re a massive failure for stopping or something, and I truly disagree with that. If you stop working out, it’s because you haven’t found something that works for you yet, but you will <3
So to get you going, I’ve compiled a list of quotes that I have found both genuinely motivational, ground-breakingly correct, and worthy of a good chuckle.
Feat your eyes!
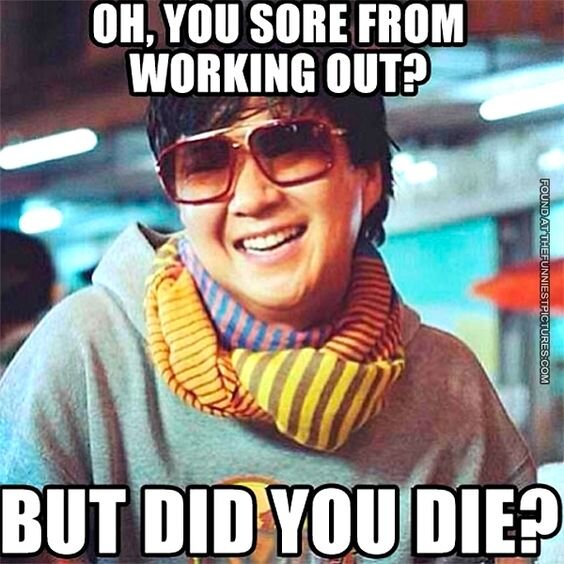
Oh, you’re sore from working out? But did you die?

I work out because I know I would’ve been the first to die in the Hunger Games.

I plan on having such an awesome run Morgan Freeman should narrate it.
<narrows eyes>
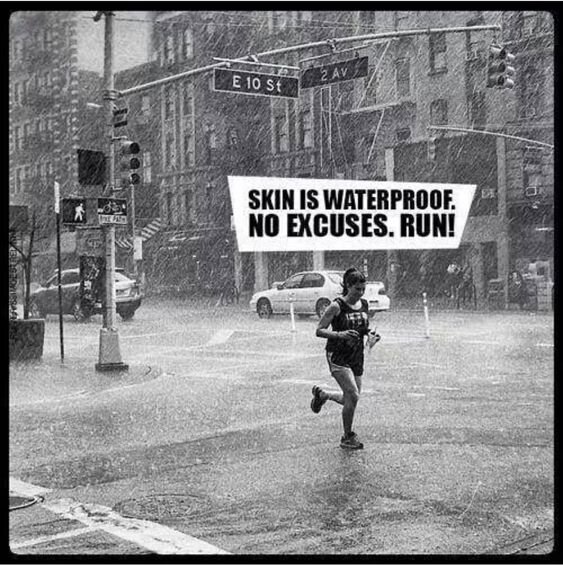
Skin is waterproof. No excuses. Run!

It’s only cold if you’re standing still.

SWEAT: It’s just your fat crying.

When I exercise, I wear black. It’s like I’m going to a funeral… For my fat.

If Forest Gump can run for over three years, you can get your ass on a 30-minute run this morning.

Run like there’s a hit guy in front of you and a creepy one behind you.
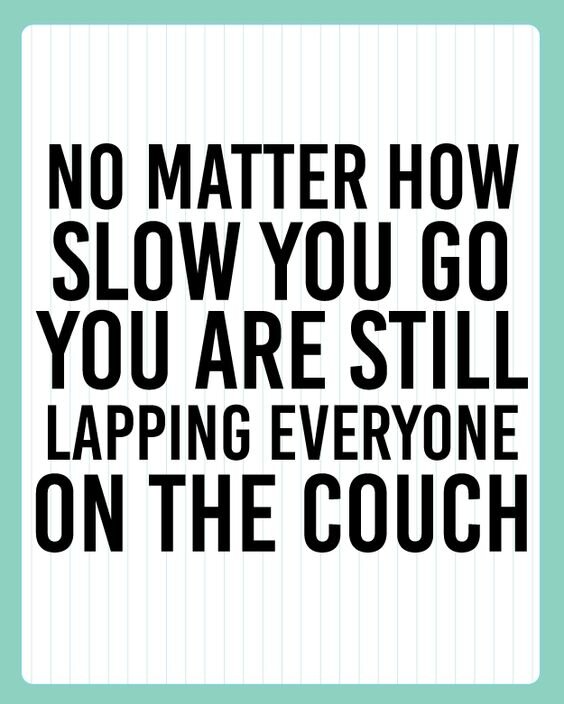
No matter how slow you go, you’re still lapping everyone on the couch.

I’ve got 99 problems but I’m going running to ignore them all for an hour.

30-60 minutes of being uncomfortable is better than being uncomfortable your entire life.

You’re closer than you were yesterday.

Zombies hate fast food.

Your body can stand almost anything. It’s your mind that you have to convince.

Cardio is so much better when your active wear is on point.

Gwyneth motivation…
‘The reason that I can be 38 and have two kids and wear a bikini is because I work my ******* ass off. It’s not an accident. It’s not luck. It’s not good genes. It’s killing myself for an hour and a half five days a week, but what I get out of it is relative to what I put into it. That’s what I try and do in all areas of my life.’
Like it? Pin it!

You Might Also Like…


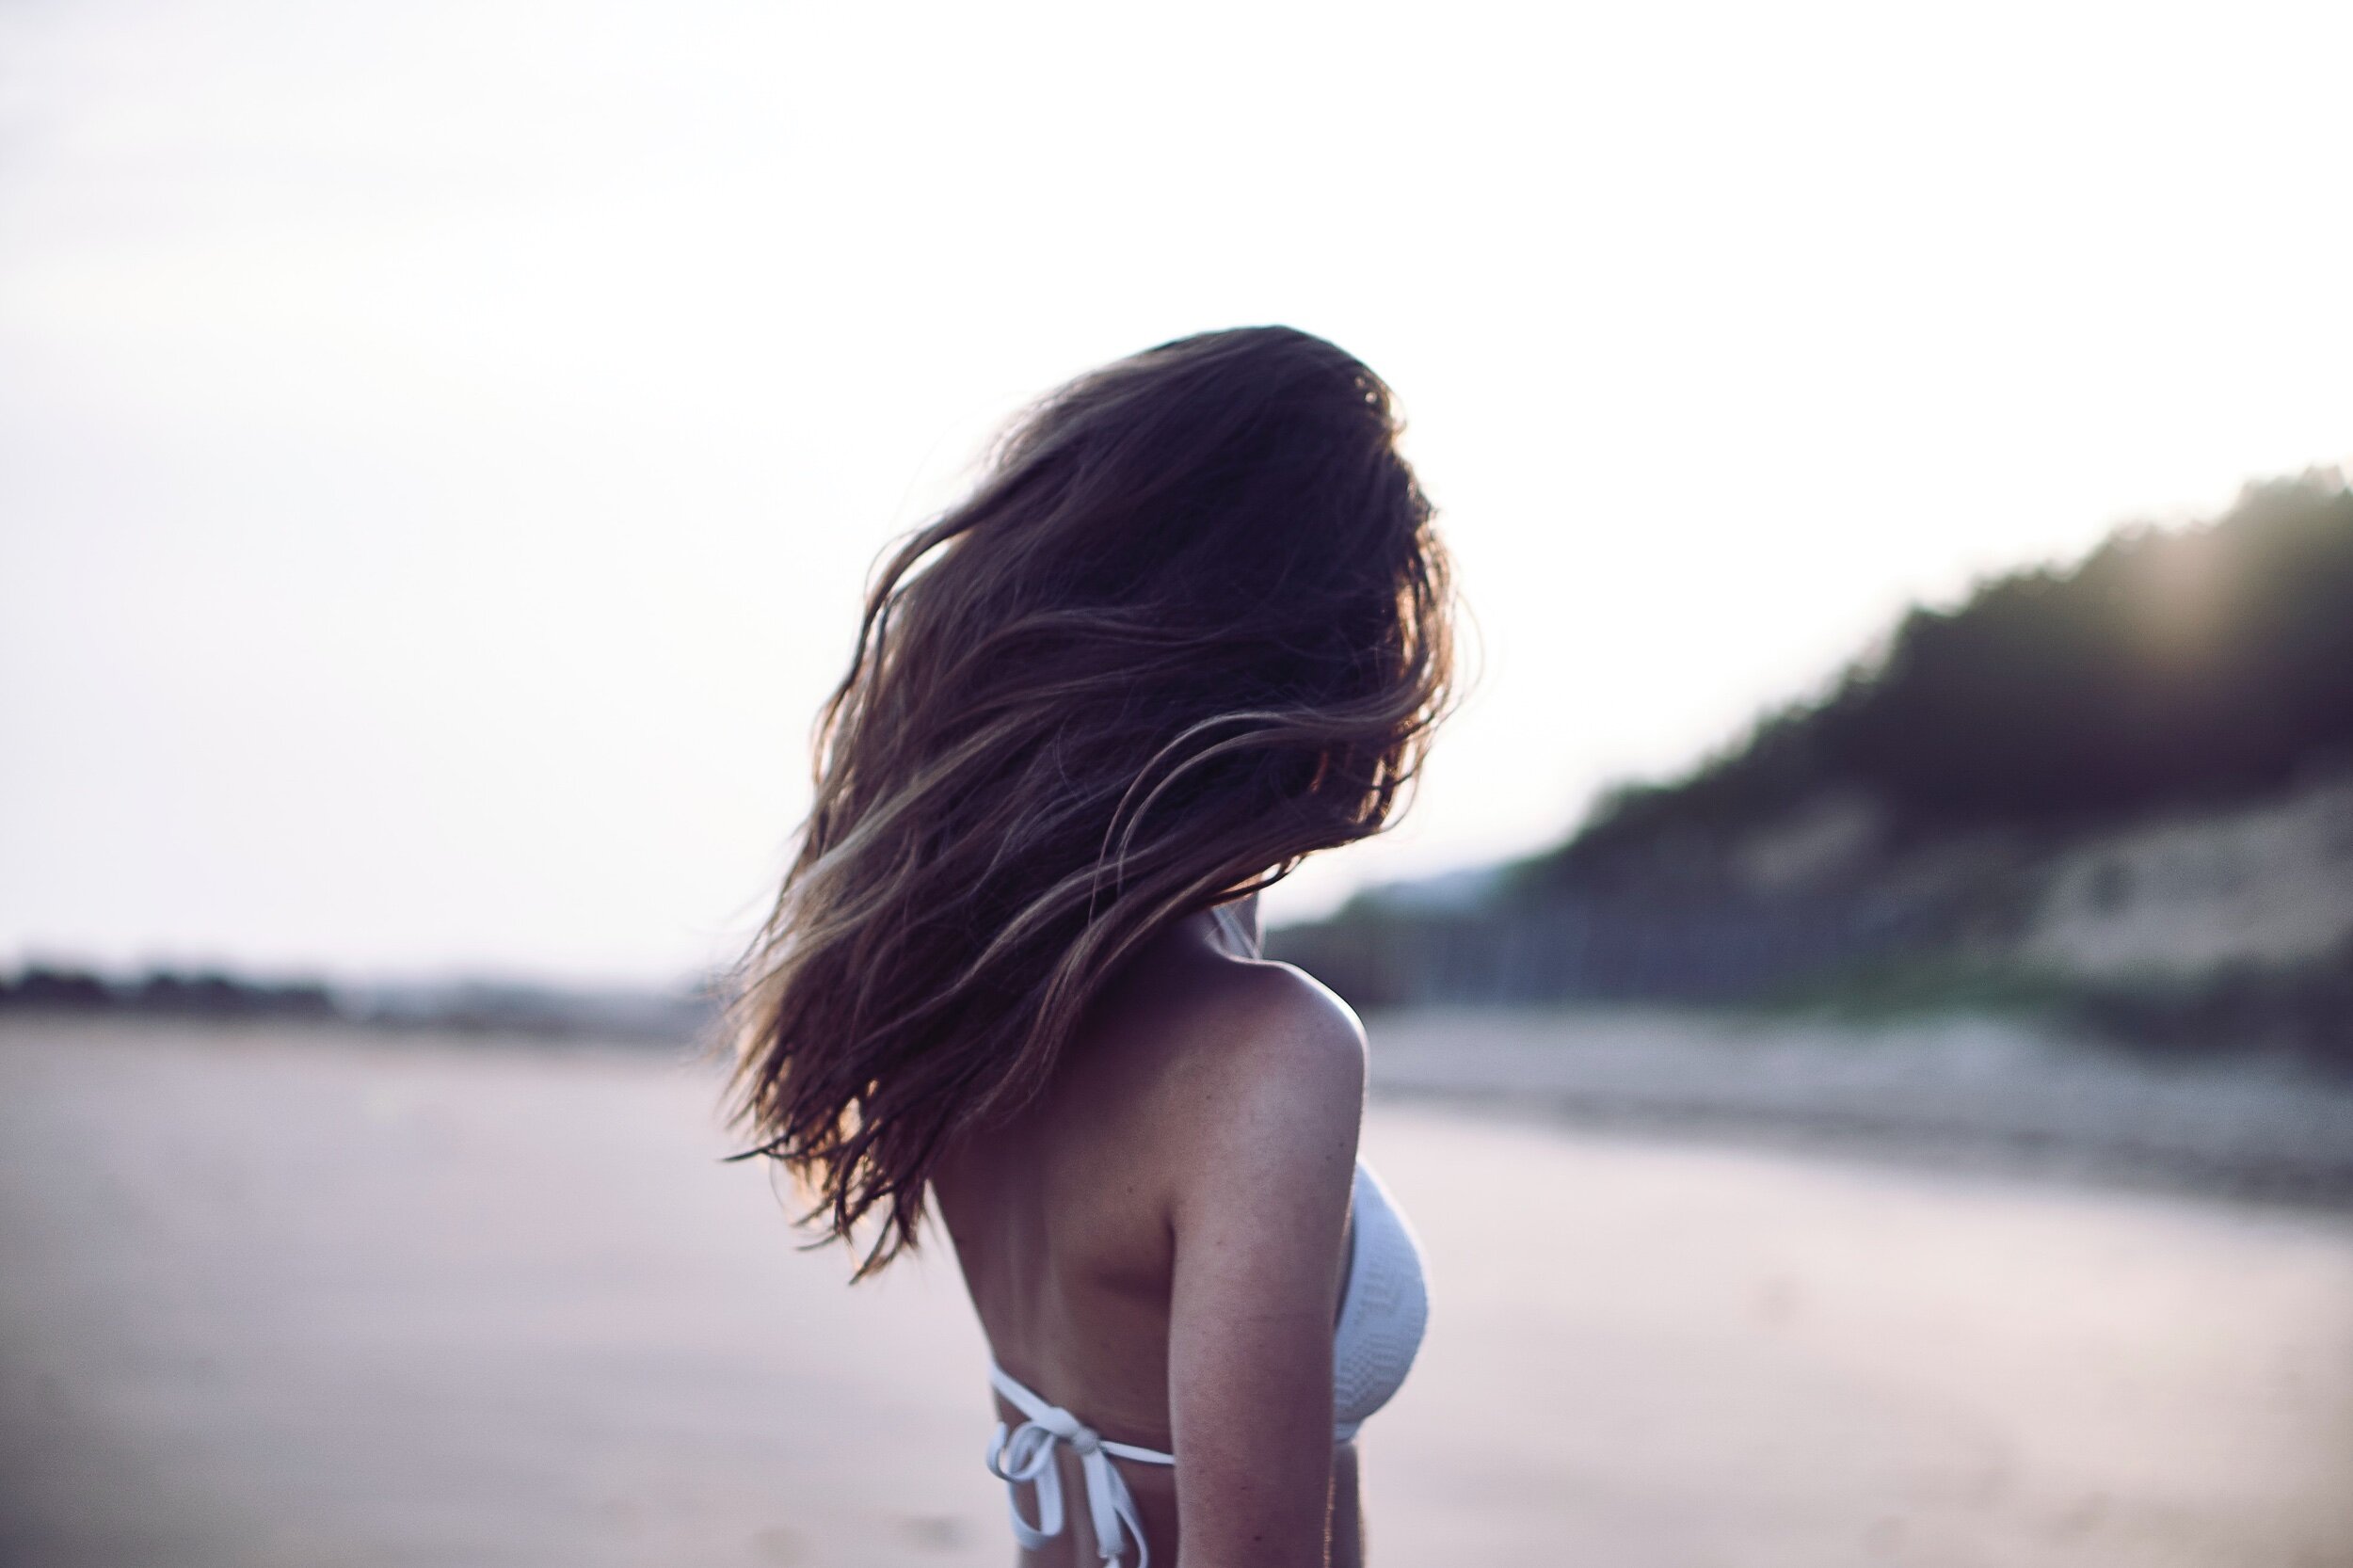
Aveda Damage Remedy Review: How I fixed dry and damaged curly hair
I’ve struggled with trying to find the balance between hydrating and weighing my hair down, but I never used thick or leave-in conditioners because I thought they’d weigh my hair down and flatten my curls…until I discovered Aveda’s conditioner range. I honestly don’t know what I’d do without them now. This is why.
I never used thick or leave-in conditioners because I thought they’d weigh my hair down and flatten my curls…until I discovered Aveda’s conditioner range. Now, I honestly don’t know what I’d do without it. This is why.
I’ve struggled to find the balance between hydration and flat curls. I have really fine hair that goes limp easily if it’s overloaded with conditioner, but also knots easily and takes forever to detangle. During my last cut, the hairdresser said, ‘these ends! I comb them and they instantly turn to knots’. She then suggested sending me home with some leave-in conditioner. I was resistant because my hair does flatten really easily with heavy products, but she convinced me the one she was recommending (Baby Got Bounce, by Evo) was really light but effective.
She was right — it was light and it really did stop my hair from turning into a giant, tangled mess after a couple of days. I was more than surprised.
Life = changed.
Why did I resist this for so long? The downside was that Evo isn’t curly girl-friendly — full of silicones which would eventually leave my hair brittle and dry. I liked the results so much that I kept using it, but resolved to find a decent leave-in that was CG-friendly before too long.
Then I found Aveda — a range of natural, cruelty-free, organic hair products that my hair LOVES.
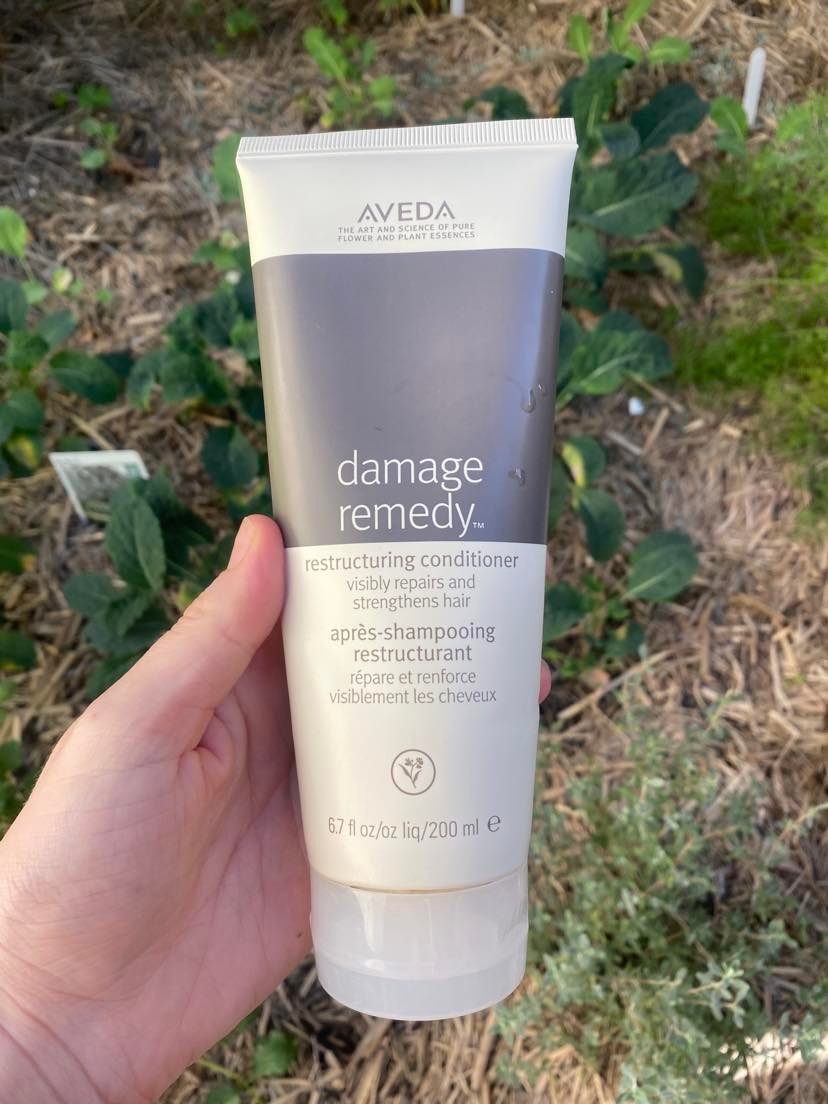
Aveda Damage Remedy Restructuring Conditioner
After cleansing my scalp with Curlsmith Core Strength Shampoo, I reached for Aveda for the first time. The reviews said it was really hydrating, but that it would weigh hair down if it went too close to the scalp. I never put conditioner near my scalp anyway, but — to me — this meant it was a really heavy product with a tendency to flatten curls. I was hesitant, but the moment I started smoothing it through my hair, I was hooked.
I detangle with my fingers before using a detangling brush to make sure my hair is completely smooth and knot-free. It’s significantly more time-consuming than just going in with a brush, but it stops a lot of breakage because you can feel the resistance with your fingers. If you’re only using a brush, you can’t feel that resistance and will likely brush right through the knot — breaking strands as you go. What I look for in a conditioner is how easily I can detangle the majority of my hair using only my fingers.

Aveda passed the test with flying colours.
It detangled So. Easily.
Totally floored.
What usually takes me 20 very painful minutes in the shower took me 10 — Aveda saved me half the time detangling my unruly tendrils. Pretty sure I almost cried with relief. I used a fair bit, but I didn’t care — I could feel my hair softening as I raked the thick and creamy product through.
I left it in for a few minutes, before rinsing it out.
Aveda botanical repair strengthening leave-in treatment
Once the conditioner was rinsed out, I reached for the leave-in. Again, super resistant because I knew I’d just conditioned with a really thick and hydrating product — surely a leave-in from the same brand would stretch out my curls and leave everything in one flat mess…?
Needless to say, that did not happen.
I used a smaller amount of this one because my hair was already tangle-free — probably the size of a bottle top, used my fingers to rake it through the ends of my hair, before using a detangling brush to make sure it was evening distributed. It felt smooth on my hair and brushed through really easily.
I followed with Sashapure curl cream and a gel, wrapped it in a microfibre towel for about 15 minutes, scrunched it, then let it air dry.
The results
My hair hasn’t felt that hydrated for a really, really long time. The curls are thick, full, and hang really nicely around my shoulders. Normally the ends are a tangle of frizz my day two, but that doesn’t happen with Aveda. My hair holds on to the moisture for days and feels soft for days. It’s incredible. And something I honestly didn’t think was possible.
I’ve been using these two products together for about two months now, and I’ve just bought my second bottle of conditioner.
price
The only downside is the price point is quite high. Both products cost between $48 and $52 each, and they’re not large bottles. I find I need to use a fair bit of the conditioner, which means I go through it really quickly, but it’s honestly worth it for me — I save so much time, and my hair feels so much healthier. But I do think these are luxury products and not everyone will be able to budget for them. If that’s the situation you’re in, check out my Shea Moisture review :)
Have you tried Aveda, or is there another brand you use? Let me know in the comments below!
Like it? pin it!
you might also like…


Ultra Violette Sunscreen: An Honest Review
Looking for a vegan and cruelty-free face sunscreen that is actually good for your skin? I tried Ultra Violette aaand it’s the bomb. Here’s why.
Looking for a vegan and cruelty-free face sunscreen that is actually good for your skin? I tried Ultra Violette aaand it’s the bomb. Here’s why.
(this post contains affiliate links, which just means I’ll get a small commission if you use them. Don’t worry, it won’t cost you anything extra :)
As someone whose great, great grandparents lived in all places cold, my Frosty The Snowman-esque skin is unable to deal with the harsh Australian rays.
I get burnt. Easily. I once got burnt in the window seat on a plane. It’s real sunny up there and no one was more surprised than me, so now I always wear sunscreen on airplane…and just about everywhere else since I was 19 because, yo, the sun can be great in small doses but over time it ages you and makes you look all leathery and gives you cancer and, as someone who can see the damage it has done, I just think everyone should be wearing sunscreen.
I’ve been on a quest it find a really good one vegan sunscreen for my face for while. I used to use a brand I will not name with SPF 30, which was really quite good for a long time, but I had no idea if it was cruelty-free or vegan, and I eventually realized I was putting it on my face with absolutely no idea what was in it. For all I knew, it could have been aging my skin more than the sun.

I was in Sephora one day and told my boyfriend what I was looking for. He went off looking and came back with Ultra Violette Queen Screen, which I had somehow missed while scanning the store. I looked it up and not only was it vegan and cruelty-free, it was SPF 50 and made by a small Australian company - and if anyone knows how to make good sunscreen, it’s Australians.
I was sold.
I’ve now been using it for about six months and I believe I’ve found the holy grail.
Ultra Violette Vegan Sunscreen
When I look for a face sunscreen, I need something light and non-greasy that will go smoothly and undetected under a full face of foundation.
Not only does Ultra Violette protect your skin from UV rays - according to the bottle - the product is full of antioxidants and will actually help your skin live its best life.
The company has a few different kinds of sunscreen, and I do want to try the waterproof ones, but for now I want to stress that I am only reviewing the Luminising Sun Serum. This is largely because it’s the one Chris found on the day, it had this cool eye-dropper thing and promised to ‘illuminate’ my skin. I would like to try the Supreme Screen Hydrating Facial Sunscreen, but we’re sticking with the serum for today.

Review
The Ultra Violette Queen Screen Luminising Sun Serum comes in a blue glass bottle with a white eye-dropper lid. It’s aesthetically pleasing, the glass means it’s not really light in weight - you wouldn’t just chuck it in your bag, the eye-dropper is smooth and rubbery and everything it should be - it’s quite soft and easy to squeeze and doesn’t feel like it’s going to crack. You can also see the product through the bottle and there is a light sparkle to the serum that shines through. Getting the product out is as easy filling the eye-dropper by squeezing it in the bottle, and then again on to your hand. I don’t know how easy that will be once I start nearing the end, but it’s been about six months and I’m only about halfway through, so I still have quite some time before that happens.
The product is white and it does appear to have tiny flecks of sparkle in it, which I guess is the ‘luminising’ property. I wasn’t crazy about that part because, while it can look great when you’re 19, as you age sparkles like that can make you look older, so I really hoped it would not be too visible under make up.


ingredients
You know how I said earlier that Ultra Violette has ingredients that benefit your skin more than just shielding it from the sun? Well, here it is.
Kakadu Plum: This Australian plum has 50 times more vitamin C in it than an orange and has generally been hailed as an all-round excellent thing to put on your skin. It’s in a bunch of really fancy skin serums and I was kind of stoked to find it was in my sunscreen.
Dragosine Plus: This one apparently keeps your skin feeling bouncy and protects it from the entire solar spectrum. It’s also a powerful anti-aging agent.
There is also a lot of hydrating glycerine to make sure your skin doesn’t dry out. Winner.

Application
The sunscreen feels very smooth to touch and glides easily over skin, spreading smoothly and quickly. Ultra Violette says you should use three eye-droppers worth of product with each application. THREE. I mean, sure, but about half an eye-dropper was more than enough to coat my face…so…that’s a thing.
The serum has a rose scent which you immediately notice, but it doesn’t smell like sunscreen which is excellent. Chris put it on once and said, ‘oh, I smell botanical’ - I think that’s the best way to describe it. Botanical, rose-like, but not overpoweringly so.
Appearance
You are left with a light sparkle to you face after application. It’s not like OMG MY FACE IS COVERED IN GLITTER, but it’s definitely there. Again, not crazy about that part.
When I put make up on, I could not see the sparkle anymore - which is what I wanted. It does mean that if went make up-free I would have a sparkle to my face, buuut I guess that’s fine for now.
The other thing I want to mention is that people of colour often have problems with sunscreens leaving a white cast over their skin. I can’t speak on that issue personally, but from everything I’ve seen and read, apparently Ultra Violette does not leave a white cast, and there seem to be quite a few people with darker skin tones who use the product.

Sooo shimmery

My hand doesn’t usually glow like that
does it work?
Yes! I have not been burnt on my face since using Ultra Violette, besides that one time I went to the beach. Guys, it’s not waterproof. But it doesn’t pretend to be so that was my own fault. I mean, I didn’t use three eye-droppers full that day either, but actually in that instance maybe I should have. The company does have a waterproof sunscreen - the Extreme Screen which is water resistant for 4 hours - and that’s really what I should have used when going to the beach. For everyday use, under make up when not in the water, Queen Screen shields you from the UV rays.
Verdict
At $47 for 50ml, it’s on the pricy end. The company’s suggestion to use three eye-droppers of the stuff every day would definitely mean you’d go through product a lot faster than I do using half an eye-dropper (I’ve had mine for six months and I’m barely halfway through), but I also think it’s for the overall health of your skin so it’s worth it in that respect. The product is also vegan and cruelty-free and Australian-made, so I do think it’s worth supporting a company that values those things.
Along with bonus properties, like Kakadu plum, that help your skin, I think Ultra Violette is actually committed to making quality products.
What’s your favorite sunscreen? Let me know in the comments below!
Like it? Pin it!

You Might Also Like…

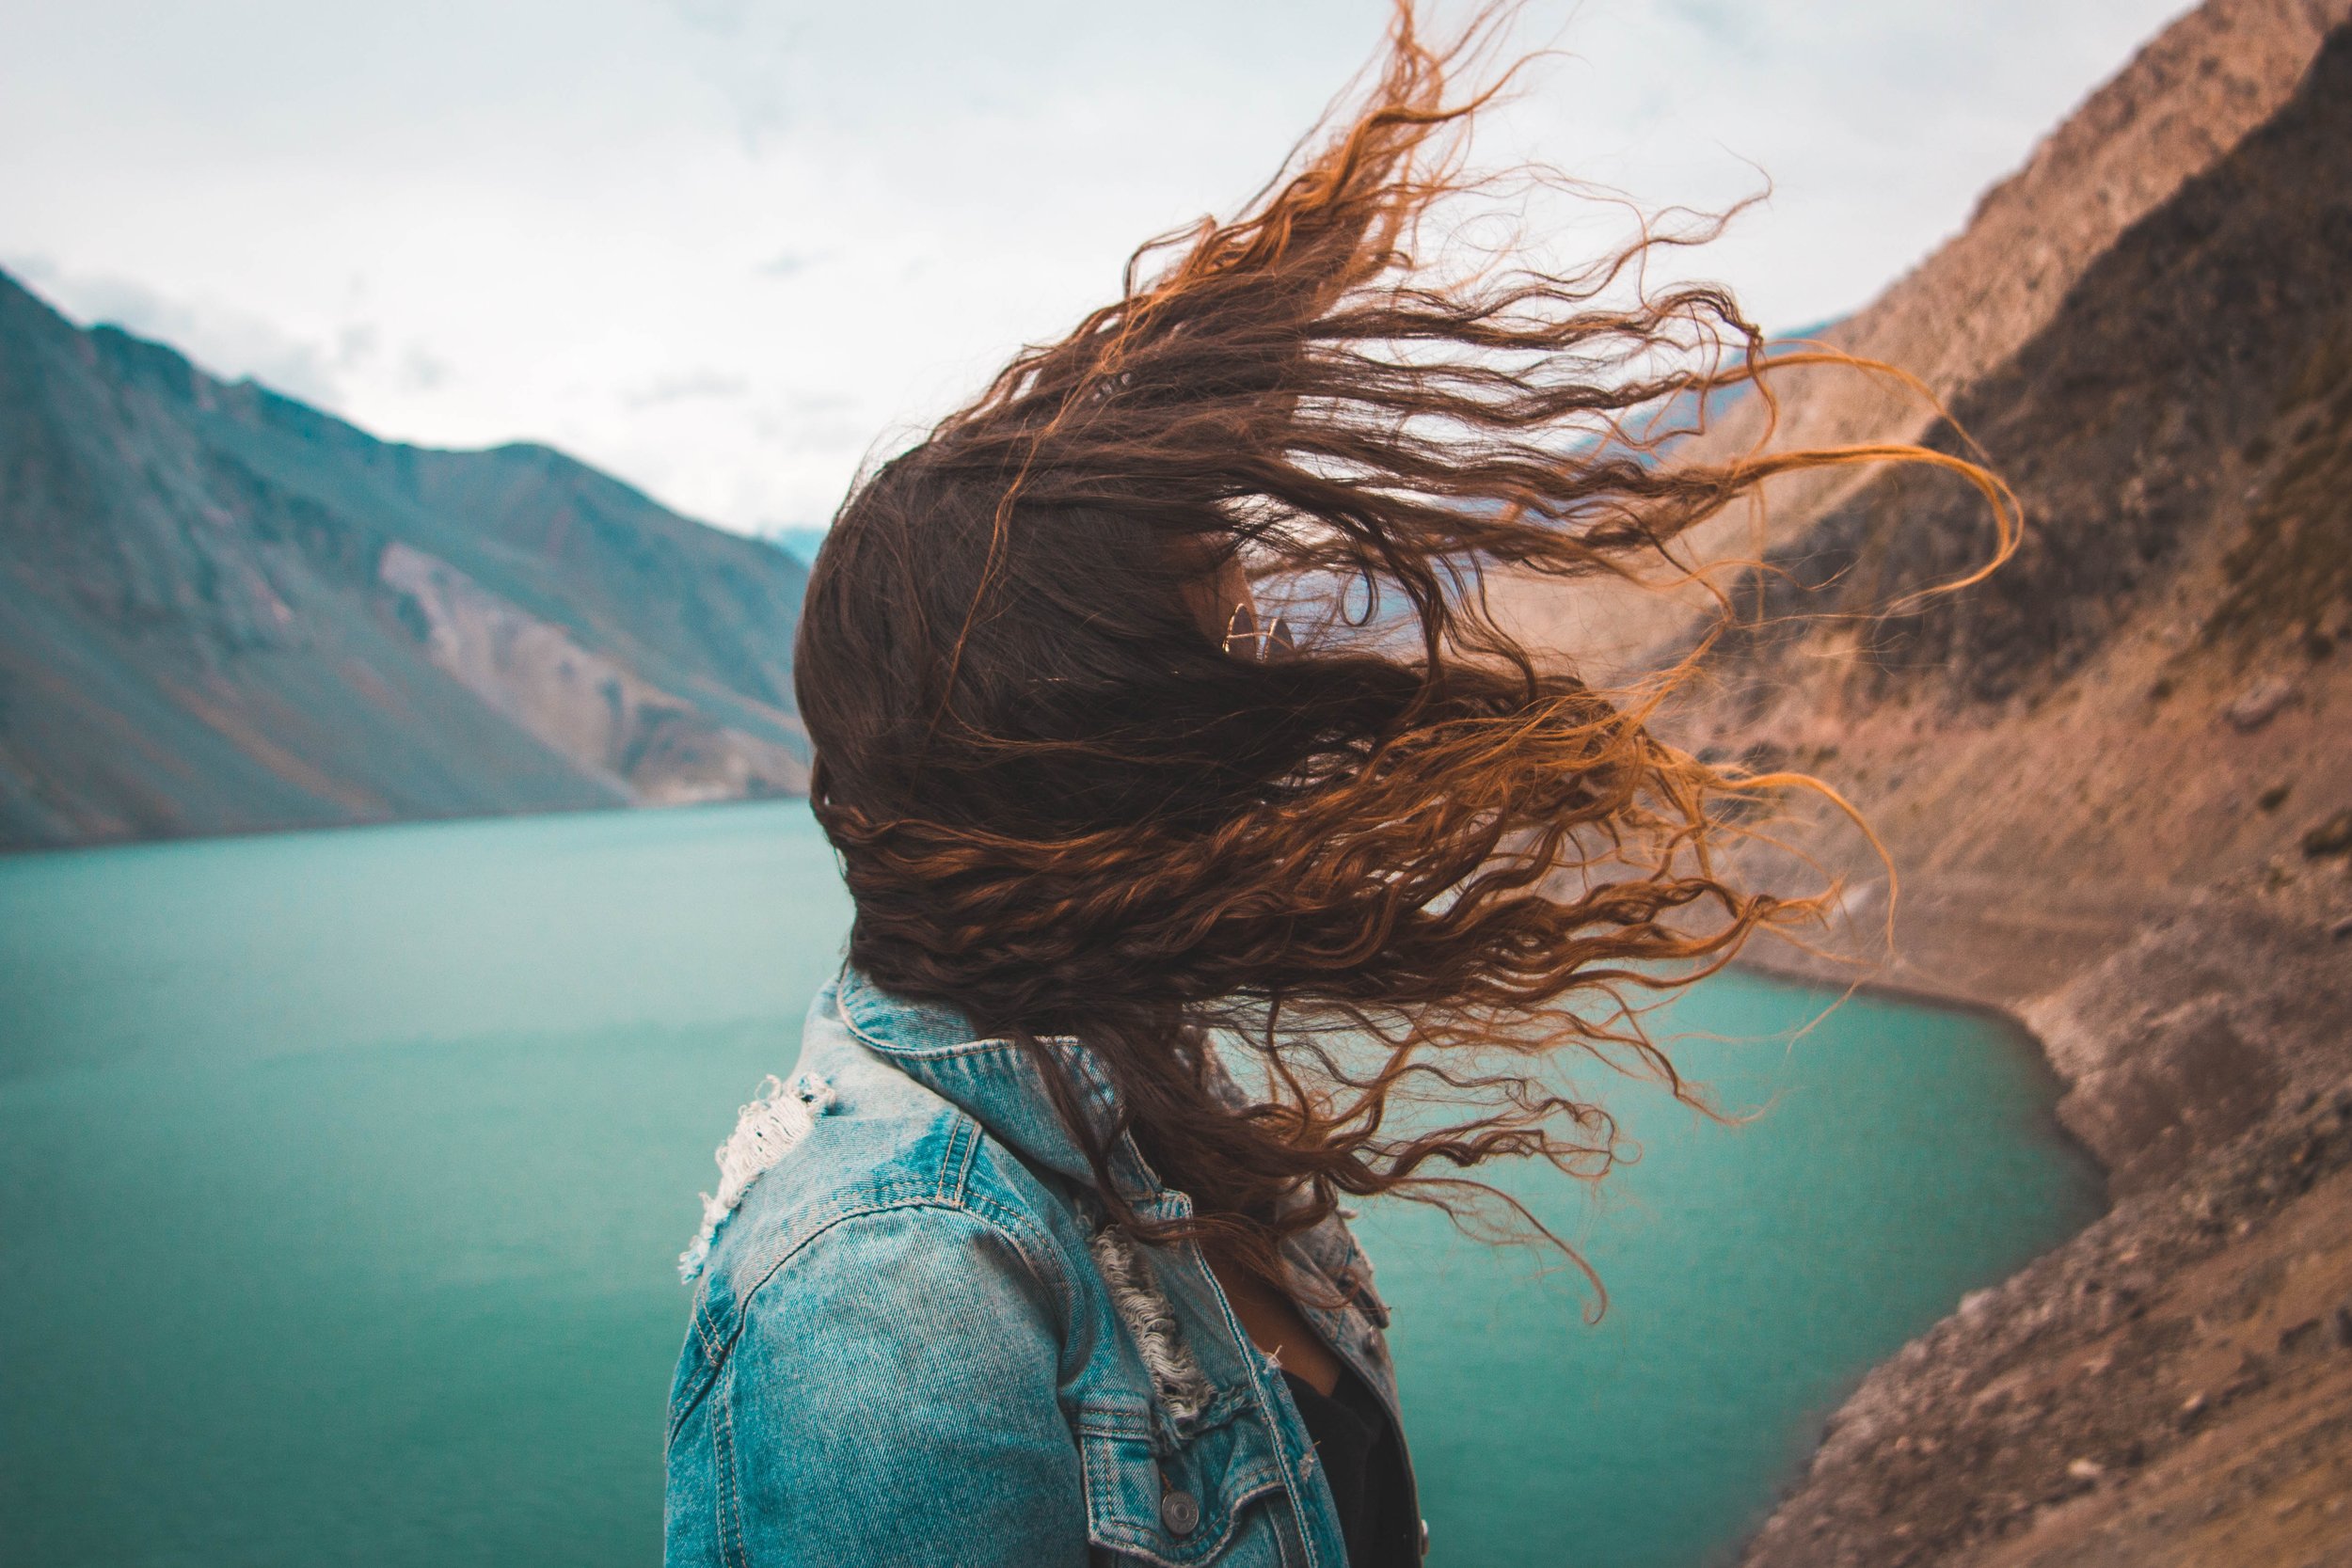
What Is The Curly Girl Method?
Want to tame frizz, define your curls and get smoother, shiner and tangle-free hair? You’ve come to the right place!
Want to tame frizz, define your curls and get smoother, shiner and tangle-free hair? You’ve come to the right place!
The curly girl method originally came from a book called Curly Girl: The Handbook by Lorraine Massey, and it basically replaces habits that damage hair with habits that repair and enhance hair. It helps anyone with all kinds of curly hair, from slight waves to tight coils, live their knot-free curly hair dreams.
I’ve been using the curly girl method for about four years now and I’ve honestly never looked back - it really has helped take my hair from a damaged mess to the wondrous mane it is today. Frizz is significantly reduced, my curls are defined and mainly knot-free, and I less hair falls out on wash day.
The curly girl method is a set of do’s and don’ts and ingredients to pick and avoid to give you hair the best possible chance of falling into its natural curl pattern. A lot of people start with wavy hair and realise their hair is actually really curly - that’s how effective it is, and how unfriendly generic products are towards curly hair.
Feast you eyes!


The Curly Girl Method
At first glance, this is a hectic list of rules, but don’t be deterred - it’s really a lifestyle change, but it’s worth it. Once you see results you won’t want to go back.
The thing to remember is that it’s a guideline and not everything will work for everyone, so see what you like and make modifications. For example, washing hair with conditioner (not shampoo) is recommended, buuuut my hair hates being washed with conditioner. I use shampoo without sulfates (find out what those are below). The method also says not to use a brush ever, but I just cannot get the knots out without one, soooo I use a gentle brush.
Have a gander below and see what works for you.
Curly Girl Don’ts
Shampoo: The traditional curly girl method states not to use shampoo. It recommends washing with conditioner, known as ‘co-washing’. This is because sulfates dry out and make it brittle. Conditioner alone does leave hair nice and clean, believe it or not. For my hair, I choose sulfate-free shampoos. It just means I still get a nice foam and my roots aren’t weighed down by all the moisture conditioner provides - my hair is too fine for that.
Heat tools: Heat is pretty bad for hair. It damages the cuticle and makes it brittle, damaging your curl pattern (click here to find your curl pattern). A lot of people have destroyed their curl patterns with straightening irons and hair dryers - to get it back, they either have to cut it off or wait for it to grow out. Best not use them at all. If you have to use heat because you live in a freezing place, dry it slowly with the heat level down low.
Combs and brushes: The idea behind this one is that your fingers are more intuitive. You can rip right through a knot with a brush, but this will break the hair and cause frizz. You’re pretty unlikely to rip through a knot with your bare hands, so the method states to detangle slowly with fingers when the hair is covered in conditioner. I can’t detangle mine properly with my fingers, so I use a gentle tangle-teaser and it’s great.
Scents: Fragrances in beauty products are a massive cause of dandruff and allergic reactions. They’re strong and abrasive and you wouldn’t think it, but they can damage your hair quite substantially because they’re so strong. If you like scents, choose gentle and natural ones. I have used eucalyptus and nothing terrible has happened.
Silicones: Silicones are a major ingredient in a lot of non-curly girl friendly conditioners. They’re a little like plastic - they’ll coat each strand in a layer of plastic that moisture cannot penetrate. The are insoluble to everything except sulfates. Over time, silicones build up on each strand. They dry it out because moisture can’t get in, and weigh it down. In time, this will stretch curls until they disappear. I never use silicones.
Alcohols: Again, these are in most products but they’re very drying, and strip the hair of moisture. You wouldn’t put alcohol all over your face - same thing goes for your scalp and hair. I avoid as many alcohols as I can.
Terrycloth towels: Sounds like a weird one, but using a regular towel to dry your hair will make it frizz up so hard you won’t know what’s going on. They’ll disrupt your natural curl pattern fiercely. Instead, opt for a cotton T-shirt or microfiber towel. I use a small gym towel.
Dyes: You hair can only live its best life when it is in its natural form. This means no dyes. Having said that, a lot of people use more natural dyes with no problems. I have used Lush henna and Rainbow henna with no problems because they’re a stain, not a dye.
Want to know if your products are CG-friendly? Find the ingredients online and paste them into Curlsbot (link below!) and you’ll find out instantly.
Curly Girl Do’s
Use a co-wash: As mentioned above, I don’t use a co-wash because they’re too thick for my hair - I can’t even put regular conditioner in up above my ears because it all just goes lifeless and flat, so I stick to curly girl-approved (CG) shampoos. If you’re hair is thick or super dooper curly, a co-wash might be right for you. It has cleansing elements and is a little thinner than a regular conditioner to leave your hair clean and nourished.
Only cleanse your scalp: There’s really no need to douse the length of your hair in shampoo. Believe it or not, if you focus on your scalp alone, the shampoo will coat the length as it rinses out under the shower and cleanse it that way. Putting shampoo directly on the ends - the most sensitive part of the cuticle - will likely result in dryness.
Deep condition: This one is really important to ensure your hair is getting the right amount of proteins and moisture. Proteins (products with avocado, wheat and soy, for example) will strengthen the cuticle and enhance the curl pattern, while natural moisturisers (aloe vera, flax seed, coconut) ensure it’s soft and shiny. I’m in between deep conditioners at the moment, but I like the Shea Moisture Jamaican Black Castor Oil deep conditioner.
Scrunch in products: I always scrunch my deep conditioner and styling products in to my hair to ensure it really sinks in, and it actually works. I basically tip my head upside down, put conditioner in, make sure it’s all detangled and squish the hair up, encouraging the curl pattern. When the conditioner is rinsed out, I do the same thing with my styling products ( Not Your Mother’s Kinky Moves Curl Defining Hair Cream) and squish it up between each fist to encourage the curl pattern. Then I use a microfibre towel to squish it up again, and wrap my head in it for about 15 to 30 mins.
Let you hair air dry: I know this may be hard for people in cold places, or for people who need to dry their hair early for work - it’s more of a guideline, but reducing heat where you can does make a difference.
What now?
Now that you know the curly girl method, what happens? Well, I’m building a list of posts to help you get to the next stage, but in the meantime take a look at ways to embrace your natural hair and figure out your curly hair type to determine what products will work in your hair.
Those are the basic rules, but I said it before and I’l say it again - do what works for you. If something doesn’t work, scrap it and test something else out. I find YouTube is a pretty good resource - specifically Penny Tovar because she’s just so informative and hilarious and she’s taught me a lot about how to use products properly. Ayesha Malik also has the greatest hair I’ve ever seen, probably because she takes her hair super seriously and spends hours on it - I don’t really see myself taking my hair as seriously as she does, but I’d be interested to try it and see the results - but I guess the pay-off is spectacular hair.
Started the curly girl method? Let me know in comments below!
Like it? Pin it!

You Might Also Like…

How To Travel With Makeup: Maximising Space While Looking Amazing
Want to know how to travel with makeup without forcing a thousand tiny bottles, applicators, and powders in to your suitcase? We’ve got a few handy tips and tricks so you can still take everything you need to look amazing on the road, without needing an extra bag to carry it all.
Travelling with makeup is something I’ve always done.
Even when I backpacked through India, I had a small stash of cosmetic basics that I whipped out on a daily basis. I wouldn’t have had it any other way, but I did feel like there was a bit of judgment around it because, well, when you have a small amount of space to carry all your travel gear, vanity feels unnecessary.
Whether you’re travelling for three days or three months, every corner of your bag matters – especially if you’re backpacking – and if loved ones are helping you pack for your trip, they can be a bit judgy about what you choose to pack, asking why you’re bringing three bottles of foundation instead of an extra pair of flip flops. Suddenly the decision you made to fill one corner of your bag with makeup feels almost as though you’re prioritising vanity over practicality.
Fun fact: You’re not.
Makeup is often seen as non-essential – something people use to look different, or ‘better’, and many people assume that wearing makeup all about ego and aesthetics, but realistically people choose to wear makeup for a range of different reasons. If you’re someone who feels happier and more confident with makeup, then good for you! The decision to travel with makeup is yours, and should be a guilt-free experience.
The only real thing you’ll want to consider is how to use as little bag space as possible, which means keeping your products to a minimum. Here are a few things to bear in mind.
(There are some affiliate links in this post, but clicking on them won’t cost you anything extra. Check my disclaimer for more info)
COMBINE PRODUCTS
If you’re someone who has separate containers of concealer, foundation and setting powder, consider looking for one single product that contains qualities of all those things.
You’re looking for something that applies as a liquid and it dries like a powder, giving you two products in one. Foundation-to-powder products have been around for decades with varying levels of quality, but these days, they’re actually pretty good, and all it means is that you save more space. Win!
My favourites are the Inika rage because they’re made with natural products, and they’re vegan, made in Australia, sold around the world, and they look great on your face!

BRING ONE APPLICATOR
Beauty companies and influencers have done a pretty good job at convincing humans of the world that they need an entire brush set and damp sponges to effectively do their makeup.
And sure, a smaller concealer brush will probably apply product under your eyes more effectively than a larger foundation brush, but when you’re travelling it’s not always possible to travel with a 20-piece brush set and sponges.
Think about what you actually need to get the job done – will your under eyes still look ok if you use a slightly larger brush to paint them? Your under-eyes may not look as flawless as you want them to, but they will probably be ok. The same goes for all brushes you normally use – think logically about what will get the job done.
And remember, you can always use your fingers. It’s technically frowned upon, but hey! You’re travelling and it’s you face – you can do what you want.
Hint: Depending on where you’re going, and the length of your trip, I highly recommend leaving the sponge or Beauty Blender at home. If the water in your destination isn’t good for drinking, you don’t want to put it on your face, and wetting your sponge everyday with clean water will use up a lot of bottled water. Regardless of the water quality, odds are you’ll also have to cram your damp sponge into your bag when it’s time to move on, which means the sponge will be in a dark, damp place for hours. Sponges are breeding grounds for bacteria as it is, and you might find you have to throw it out at some stage through out your trip.

PACK FOR LONGEVITY.
Do you have a tube of liquid brow filler or eyeliner? Consider bringing a pencil instead. Pencils can last years and remain sanitary because you can just keep sharpening them and shave off the used part after a while.
They’re also cheaper, they don’t leak or dry up, and where you might need a few tubes of liquid brow filler, you’ll probably only need one pencil. They’re also much less likely to sweat off, and you don’t have to wait for them to dry. I’ve been using a brow pencil with a smaller brush on the end, and it’s seriously the best!
PARE IT BACK
Think about what aspect of makeup is the most important to you. Maybe you have dark circles under your eyes, uneven skin tone, or hooded eyes – whatever element you feel the need to cover up is what you should focus on, and disregard the rest.
For example, I’ve always felt the need to cover up my uneven skin tone, so the most important aspect for me is foundation. Sure, I like highlighter, eye shadow and lipstick, but I’m ok without them – using those extra products doesn’t drastically change the way I feel about my appearance, so I priorities foundation above those other products.
If you feel good about yourself having covered up your dark circles, you’ll want to focus on those products before lipstick, bronzer, and eye shadow. That probably means a colour corrector and foundation before anything else – those are your essentials, and should be all you need.
YOU DON’T NEED A MAKEUP BAG
There, I said it.
Even if you get a small one, they’re still bulky and take up way more valuable space than necessary. Why try and cram a makeup bag in to your backpack or suitcase when you can fit an eye pencil and foundation bottle in to the tiniest spaces in your carry-on?
If you’re worried about the sanitation of your applicator, give it its own pouch in the form of a clean sock you’re not going to wear, or cut a rectangle of material from a shirt you don’t wear anymore and roll it up. There are a lot of options outside bulky makeup bags.
TRY MAKEUP ALTERNATIVES
Look at what makeup you’d like to bring, and see if you can replace it with something you’d be packing anyway. For example, if you’re packing fake tan, you can actually mix some in with your face mosituriser at night, and you’ll wake up in the morning looking like you have foundation on. True story!
You can also use clear lip balm as a highlighter, use a spool brush with some water on it to elongate your eyelashes, or use a CC cream or tinted moisturiser with SPF for an all-in-one moisturiser/sunscreen/foundation. There are loads of makeup hacks like this out there, and you can save so much space.
So there you have it! Makeup doesn’t have to take up a lot of room in your bag if you think a little outside the box and consider some alternatives :)
Do you have travelling with makeup hacks? Let me know in the comments below!
Like it? Pin it!

You Might Also Like…

I Tried the Frank And Oak Subscription Box. Here’s What Happened.
Is the Frank And Oak ‘Style Plan’ Subscription Box worth it? I gave a go and here’s what happened.
If you’re in North America and Facebook detects that you’re remotely interested in clothes, you’ve probably come across ads for the Frank And Oak monthly subscription box, and hovered over it, wondering if it’s really worth it.
There’s no subscription fee and you can opt out of a certain month, or unsubscribe completely at any time for no cost whatsoever. You can also return any items you don’t want within 30 days for a full refund (they’ll even pay shipping), and they’ll only keep a styling fee of $25 if you return everything. This means that if you received nine items and only keep one, they won’t charge the extra $25.
On top of that, all their materials are sustainable and ethically sourced from around the world, everything is recyclable (including the tags), and their clothes are very practical and made to last. Considering the horrid effects of the fast-fashion industry (looking at you, H&M), Frank And Oak know where it’s at.
Anyway, back to the box…
My personal style can be a little out there – I don’t hold back when it comes to glam makeup, fancy (thrifted) skirts, and giant platforms. This can (and has) resulted in some unwanted attention in the past, so when I move to a new city, I like to check out the fashion trends so I know what to expect. Knowing I was moving to Quebec in a matter of weeks, I decided to subscribe to the Montreal-based fashion box to see what French Canadian style was all about.
Here’s what happened.
Frank And Oak Style Plan: A Review
After drinking the proverbial Kool-Aid and clicking on a <gasp> Facebook ad, I arrived at a beautiful-looking website and was asked to pick from the men’s box or the women’s box, and place a range of style preferences (preferred patterns, whether I liked casual, classic, or creative styles, colours I’d never wear, sizes for different items of clothing) and what I would usually spend on shirts, dresses, pants, ect. I chose the cheapest in all areas.
Everything was very visual – I was asked to select a range of preferred outfits and items from images, and knew exactly what I was selecting at all times. It was an easy process and I felt confident about my choices.
Two days before the box is due to be dispatched, I would get an email to preview the box and confirm the items.
It should be noted that if you don’t confirm or decline the box for that month within two-days, the box is automatically confirmed, your credit card is billed, and the box is shipped.
Box 1
I was road-tripping around Jasper, Alberta with no internet, and had no idea the email for my first box had arrived. Three-days flew by and, low and behold, when I got back and realised more than $300 had been billed to my credit card for clothes I’d never seen before, I immediately contacted Frank And Oak to explain the situation.
Surprisingly, they were extremely accommodating. Since the box preview fell over a long weekend, they hadn’t shipped mine yet and happily gave me a refund.
Crisis averted, and I was looking forward to actually being able to preview the next month’s selection.
Box 2
I was living in Montreal by the time box two came around, so I was super-excited to take a look.
The previews come with nine stylist-selected items already in your box, with a price on the top right-hand corner of the page. You can thumbs-down any items you hate and never want to see again, then refresh to see new items in their place.
I wanted to see allll the options (maybe there were ones I’d like better if I kept going?), so I kept thumbs-downing things to see what else they had, and then eventually I ran out of options, the price dropped significantly, and I couldn’t go back and thumbs-up anything I rejected.
I used the chat function to ask a human if there were any more items, and some new ones popped up, though because I look terrible in pastel colours, I had to reject more and the number of items diminished again. I ran in to this problem a couple of times.
Eventually someone at Frank And Oak told me they might be adding more items later in the day, so I waited.
When I got back to the preview screen, most items I wanted were sold out and the cost of the box was hovering at around $200 for what I perceived as less items.
Since none of the items I really wanted were available, I decided to skip that month and wait for the next one.
Box 3
Third time lucky, right?
The email came, I previewed the box immediately and liked way more items than I had the previous month. Win! I thumbs-downed a few odd colours that would make me look like I had liver failure, but kept most of them, including some jeans, a scarf, a fluffy navy sweater, two black dresses, some 40s-style tweed pants, black boots, and a few other things.
For the first time in three-months, I hit ‘confirm’ and almost immediately got a receipt. It cost $224, but for nine items, it looked like a pretty good deal. So far so good! It wasn’t until I got the shipping notice that I realized what was actually going on.
You have to confirm the items you want to keep by clicking on the image. There’s no thumbs-up button to do this, you just have to know to double-click the items you want. I didn’t do this on any of the items, so the top three were automatically confirmed for me, and the shipping notice read that I was only receiving three items for $224, rather than nine.
One item was a $70 scarf (to put this in perspective, the last scarf I bought was $1 at a garage sale) and I tried really hard not to think about it.
Because I’m living in Montreal, impressively, the box arrived the next day. There were indeed three items in the box and, I have to say, they were beautifully folded and packaged.
What was in my box

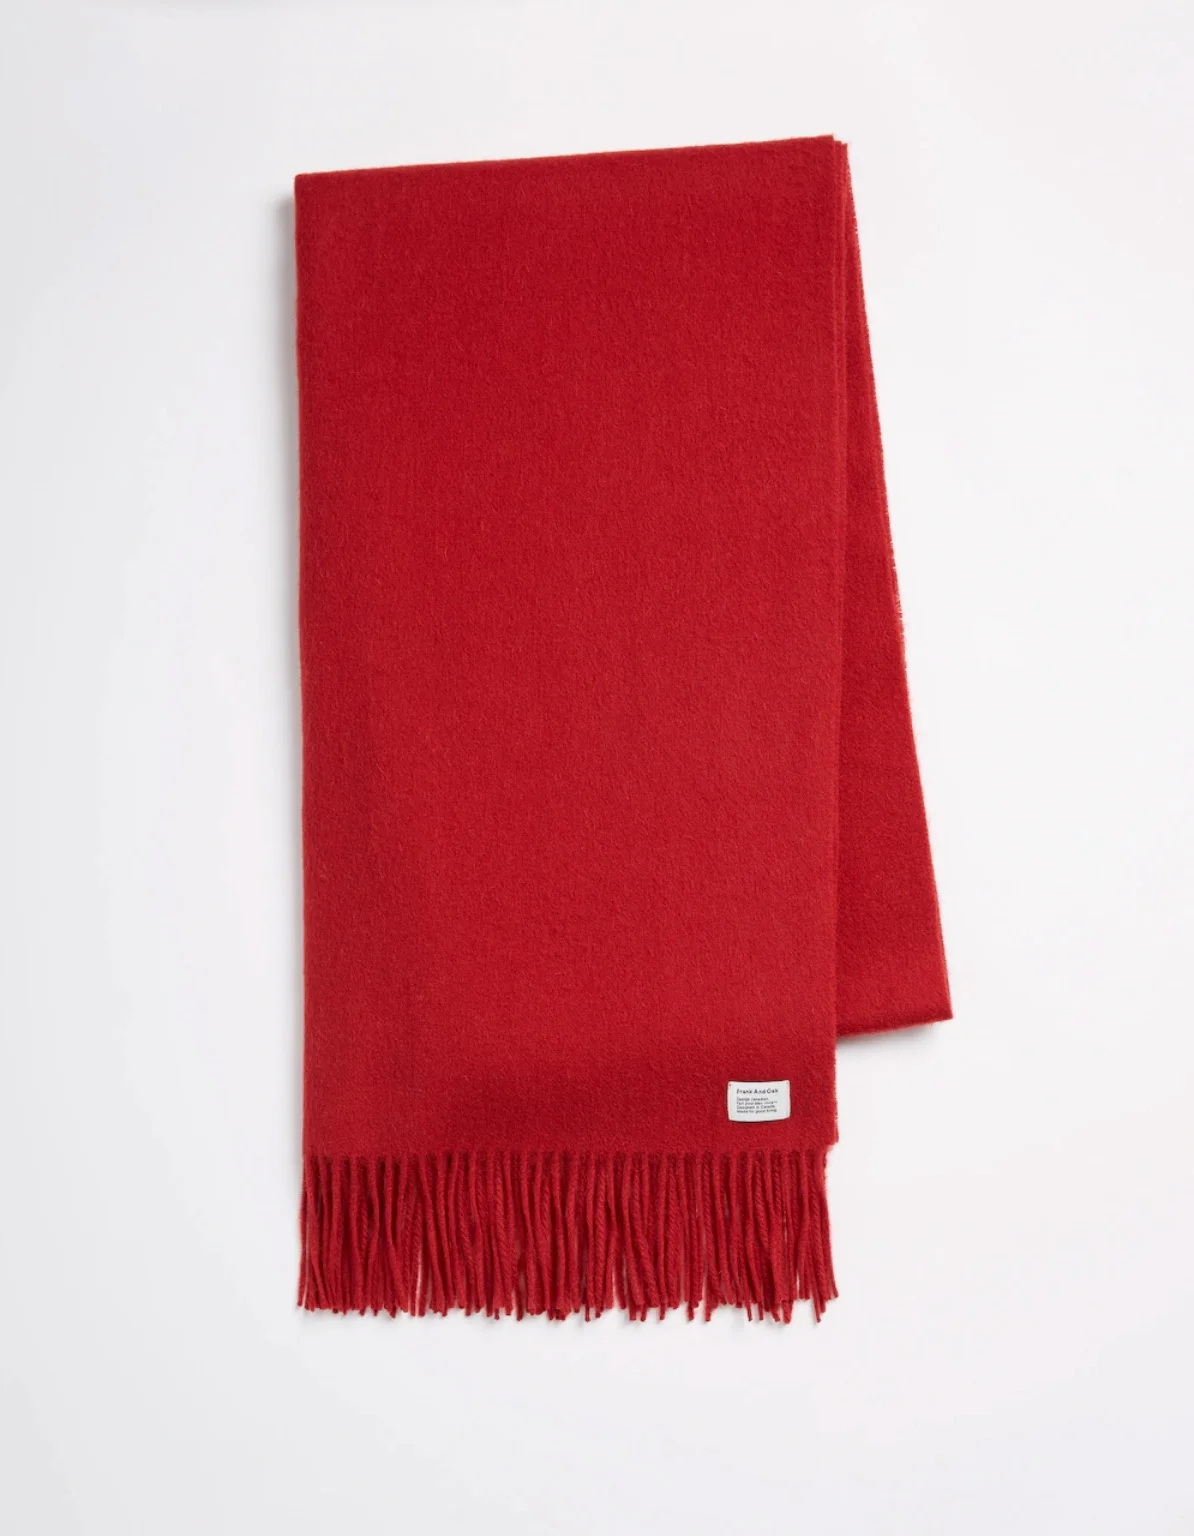

The first item I picked up was the $70 scarf. It was a deep red, finely woven, and thick enough to withstand a Canadian winter, but not chunky. It was stunning. I was floored. The picture above doesn’t do it justice.
I’m a traveller so I usually thrift clothes, or buy cheaper ones, so wearing brand on the higher end of the scale was an experience I hadn’t had in a while.
The sheer quality of everything was a nice surprise – it’s something I didn’t even consider, but it made deciding what to keep astonishingly difficult. All items were extremely well-designed, and made from soft and wearable materials that had a nice weight to them – something fast-fashion labels just don’t have.
The black dress didn’t look all that remarkable from the outside – it looked like a few other dresses I’d seen on racks everywhere for years. It was shorter in length and sheer with small buttons down the front, but didn’t feel like it would blow everywhere in the wind or cling to my tights on cold days.
The sweater was thick and warm. I think I was imagining something slightly oversized when I saw the preview because I’m small and things usually look big on me, but it was surprisingly fitted with room underneath for layers, and sat just above my hips.
On top of that, everything fit perfectly.
Is it worth it?
The thing with subscription boxes is that they’re meant to be great value. I’ve signed up to a few beauty boxes in the past, and have received quite a few items for a seemingly low cost, so I assumed this would be a similar thing.
While you do save around 20% on each item with the Frank And Oak Style Plan, for regular humans who work for a standard wage in Canada, it’s not cost-effective. What I didn’t realise upon signing up is the more you ‘confirm’ to your box, the higher the price goes. For example, I added a Thinsulate snow coat recently and, with three other items in the box, the cost of the whole box jacked up to more than $500. Sure, you’re getting a discount, but it’s not a huge one.
All in all, if you’re happy to spend a little more on quality, durable and sustainable attire that will last, then yes, the Frank And Oak Style Plan subscription box is totally worth it.
If you’ve been gawping at the cost and can’t fathom spending that much money on only a couple of items, then maybe it’s not for you, but I wouldn’t rule it out. Signing up is a risk-free process – you never pay for anything you don’t want, and if you proceed with the box and don’t like any items when it arrives, it’ll only cost you $25. If you can part with $25 or more for the sake of curiosity, then I’d give it a try.
At the end of the day, I probably wouldn’t have picked out any of the items I received from a rack in a store, which is kind of the point of investing in a stylist. In that capacity, it’s a fun and interesting thing to try.
Have you tried Frank And Oak, or another clothing subscription box? Tell me what you think in the comments below!
Like It? Pin It!

You Might Also Like…

Travelling Alone: How, Why, And What To Do If You're Anxious
I may have journeyed through Europe for four or five-months, met a heap of new people, stayed in dorms, and made lots of friends while travelling alone, but don’t be fooled – I am not an outgoing person.
I may have journeyed through Europe for four or five-months, met a heap of new people, stayed in dorms, and made lots of friends while travelling alone, but don’t be fooled – I am not an outgoing person.
The thought of meeting new people makes me really anxious, and I find myself saying really weird and awkward things in the heat of the moment, like the time I accidentally told my friend’s parents there was no recycling system in town (there was...).
I had no intention of lying, I just panicked, and I had this huge fear that a similar thing would happen if I went travelling alone, and that I'd never make friends.
How wrong I was.
I basically realised just how many solo travellers are out and about in the world as soon as I hopped off the first plane, which made striking up conversation really easy – some people even looked relieved when I started chatting to them because they were too anxious to approach someone themselves.
The thing to keep in mind is that when you're travelling alone is that no one knows who you are. They don't know how much courage it takes for you to get up and talk to them, they don't know if you're an anxious mess, if you lack confidence, suck at small talk, or if you're actually terrified of the city you're in and want to explore it with someone – all they know is what you communicate. If you feign confidence, smile, and ask them about their experiences, you'll most-likely make a friend.
Whether you're like me and have social anxiety or not, if you want to travel solo, you probably have a bunch of questions and concerns, so I’ve compiled a list:
1. I’m terrible at meeting people.
Lots of people who travel alone want to meet other travellers – travellers like you! You don’t have to be really outgoing to make friends on the road, all you have to do is sit somewhere social (like a backpacker bar, or a hostel common room), strike up conversation with someone, and it will probably work out.
Whether you’re in a hostel, on a tour, or sightseeing, approaching someone and saying ‘ hi’ is almost always welcome. I did a lot of Free Walking Tours (everyone should get in to those!), and I never came away from them without a new friend. And I say that as someone with social anxiety – if you're like me, I guarantee talking to random people is nowhere near as hard as you think it is, and the rewards far outweigh any consequences.
TIP: If you want to meet new people, the best thing you can do is download the Couchsurfing app to your phone. You don't even have to couchsurf, all you have to do is go to the dashboard, click 'hangout now', type in what kind of hangout you want to have (eg: have a beer; explore the city; go hiking; have coffee), and you'll have access to a range of people in the area who want to do what you want to do. I used it a few times, and recommend it to anyone.
2. Don’t you get lonely?
Short answer: No. Long answer: It depends on the kind of trip you’re doing, but if you’re ok with the idea of approaching people and starting a conversation, you won’t get lonely. Travelling alone is great because you can be socially active when you want to be, and plug in your headphones and watch a movie in bed when you don’t feel like it.
If you’re a social animal, try and stay in hotels/hostels with common rooms – I can almost guarantee there will be others there ready and willing to meet someone amazing like you (hint: the probability increases if the common room has a bar).
3. Did you ever wish you were travelling with someone?
If you’ve ever travelled with someone, you’ll understand that it can be really trying – everything is suddenly a negotiation, and even deciding where to eat can take hours, let alone deciding where to travel, and how to get there.
The wonderful thing about travelling alone is that everything is up to you – you don’t want to stop to eat until four in the afternoon? You don’t have to. You want to forget about your budget and travel on a first class train one time? No one is stopping you. You want to cancel your trip to a castle because the Sunday sesh pub-crawl sounds better? Great idea! No one is there to make you feel bad for not doing touristy things. It’s liberating.
4. Is travelling alone as a female dangerous?
If you’re as cautious as you would be at home, then no, no it’s not, but the media does a great job of making it sound dangerous. For example, there’s one ‘travel’ site that lists 50 (!!) places women shouldn’t travel alone (many of which I’ve been to), while another of their articles lists the best destinations for single men. Some places in each list are exactly the same.
I’m not saying women don’t have to exercise more caution, but the idea that solo travel is really dangerous for women is incorrect, and unfair. Of course there are some places where women have to be wary, but those places are generally a little more risky for men as well. Do your research, don’t follow strange people down dark alleyways, and you should be ok.
6. Is eating alone awkward?
Not at all! I ate out a lot in Eastern Europe and had the best time – you can eat what you want, when you want, in the quantity you want, look at your phone the whole time, read a book, or people-watch to your hearts content, without being rude, having to negotiate, or being judged because you ordered half the menu.
It only got a bit weird for me when I wanted wine or something because I don’t like drinking alone (I turn in to a conversation machine), but I had a glass or two a couple of times, and it was fine. If you look around, lots of people are dining alone as well, so it’s really not weird, and no one is judging you.
7. Is accommodation more expensive?
It can be, but it depends on what you’re looking for. A private rooms will almost always be more expensive than a dorm bed, and a lot of places will charge you a flat-rate whether you’re travelling solo or with another person because you’re still taking up a double bed, but having said that, other places have lower rates for solo travellers – look around online and find a deal that works for you.
My go-to site is booking.com because they have a range of hostels and hotels (as opposed to Hostel Bookers or something where they only show hostels), but it’s worth using Expedia or Trip Advisor as a search engine to find the best deal.
Did you have an amazing experience travelling solo? Tell me all about it and get published!
Like it? Pin it!

You Might also like:
AFFILIATES
I use affiliate links and advertising on this site, which just means that if you buy a product through a link on this site, I'll get a small commission (not all links are affiliate links). This is because all the content I provide here is free, and I want to keep it that way :)