
What Is The Curly Girl Method?
Want to tame frizz, define your curls and get smoother, shiner and tangle-free hair? You’ve come to the right place!
Want to tame frizz, define your curls and get smoother, shiner and tangle-free hair? You’ve come to the right place!
The curly girl method originally came from a book called Curly Girl: The Handbook by Lorraine Massey, and it basically replaces habits that damage hair with habits that repair and enhance hair. It helps anyone with all kinds of curly hair, from slight waves to tight coils, live their knot-free curly hair dreams.
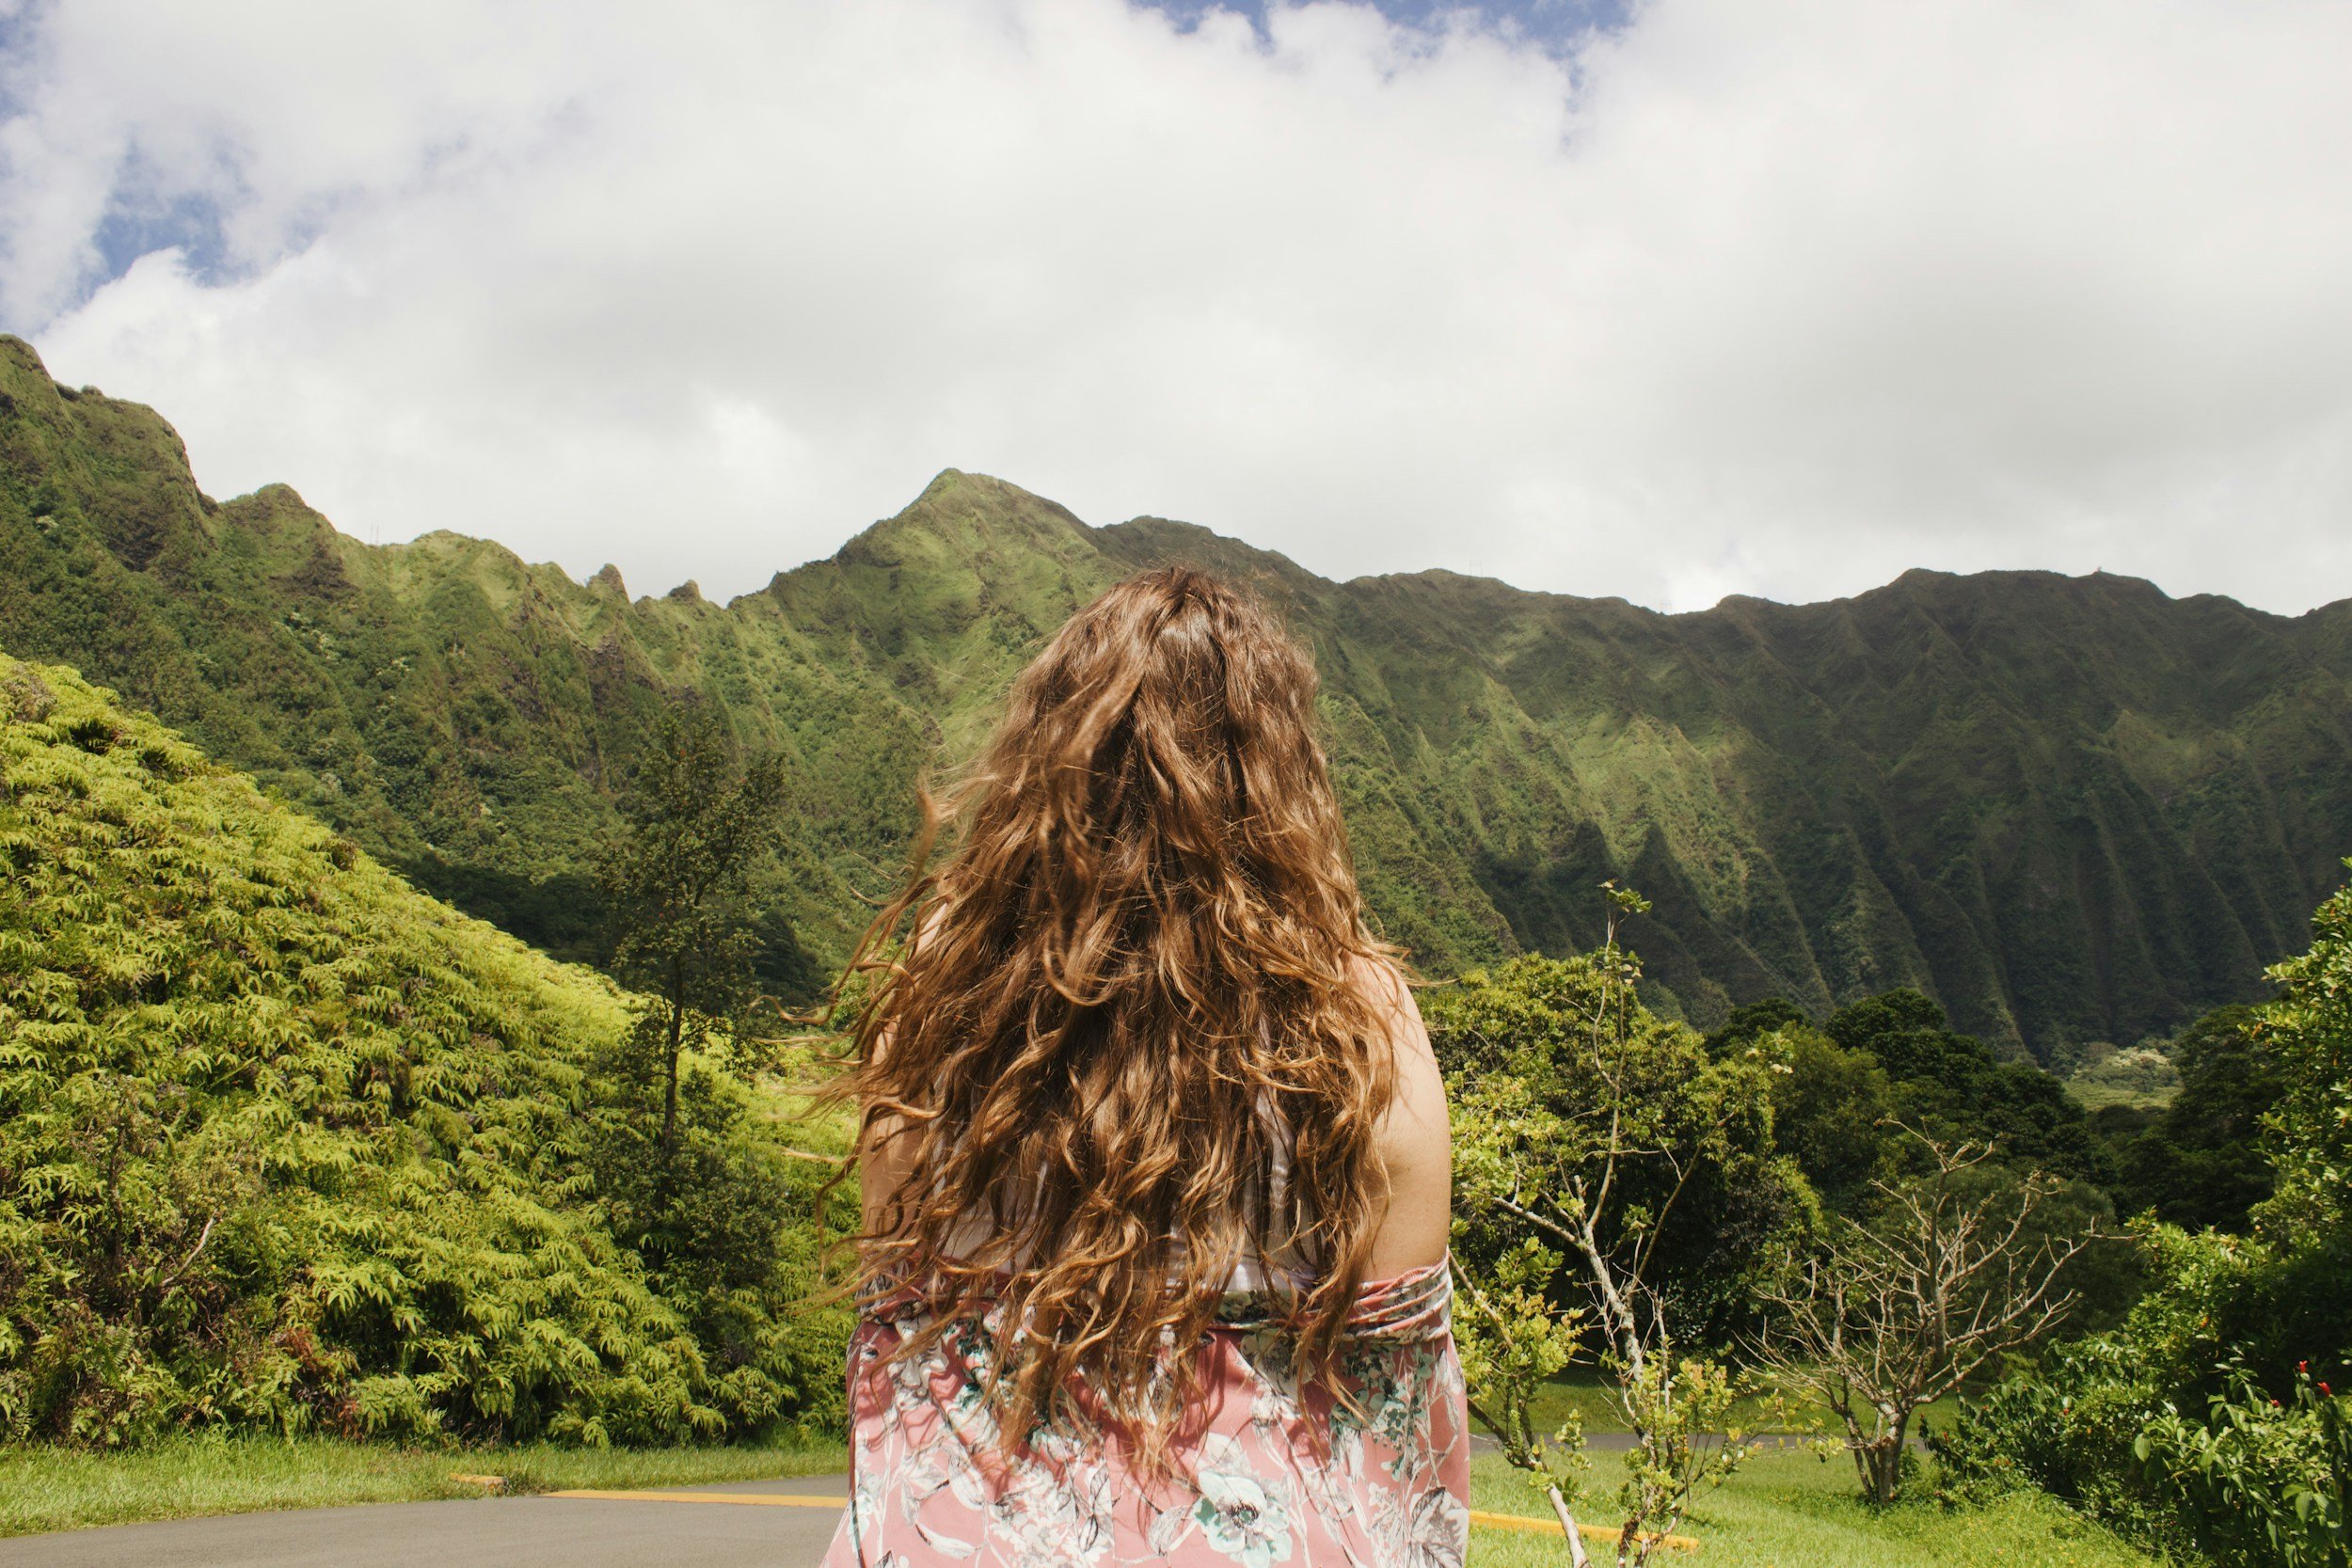
I’ve been using the curly girl method for about four years now and I’ve honestly never looked back - it really has helped take my hair from a damaged mess to the wondrous mane it is today. Frizz is significantly reduced, my curls are defined and mainly knot-free, and I less hair falls out on wash day.
The curly girl method is a set of do’s and don’ts and ingredients to pick and avoid to give you hair the best possible chance of falling into its natural curl pattern. A lot of people start with wavy hair and realise their hair is actually really curly - that’s how effective it is, and how unfriendly generic products are towards curly hair.
Feast you eyes!


The Curly Girl Method
At first glance, this is a hectic list of rules, but don’t be deterred - it’s really a lifestyle change, but it’s worth it. Once you see results you won’t want to go back.
The thing to remember is that it’s a guideline and not everything will work for everyone, so see what you like and make modifications. For example, washing hair with conditioner (not shampoo) is recommended, buuuut my hair hates being washed with conditioner. I use shampoo without sulfates (find out what those are below). The method also says not to use a brush ever, but I just cannot get the knots out without one, soooo I use a gentle brush.
Have a gander below and see what works for you.
Curly Girl Don’ts
Shampoo: The traditional curly girl method states not to use shampoo. It recommends washing with conditioner, known as ‘co-washing’. This is because sulfates dry out and make it brittle. Conditioner alone does leave hair nice and clean, believe it or not. For my hair, I choose sulfate-free shampoos. It just means I still get a nice foam and my roots aren’t weighed down by all the moisture conditioner provides - my hair is too fine for that.
Heat tools: Heat is pretty bad for hair. It damages the cuticle and makes it brittle, damaging your curl pattern (click here to find your curl pattern). A lot of people have destroyed their curl patterns with straightening irons and hair dryers - to get it back, they either have to cut it off or wait for it to grow out. Best not use them at all. If you have to use heat because you live in a freezing place, dry it slowly with the heat level down low.

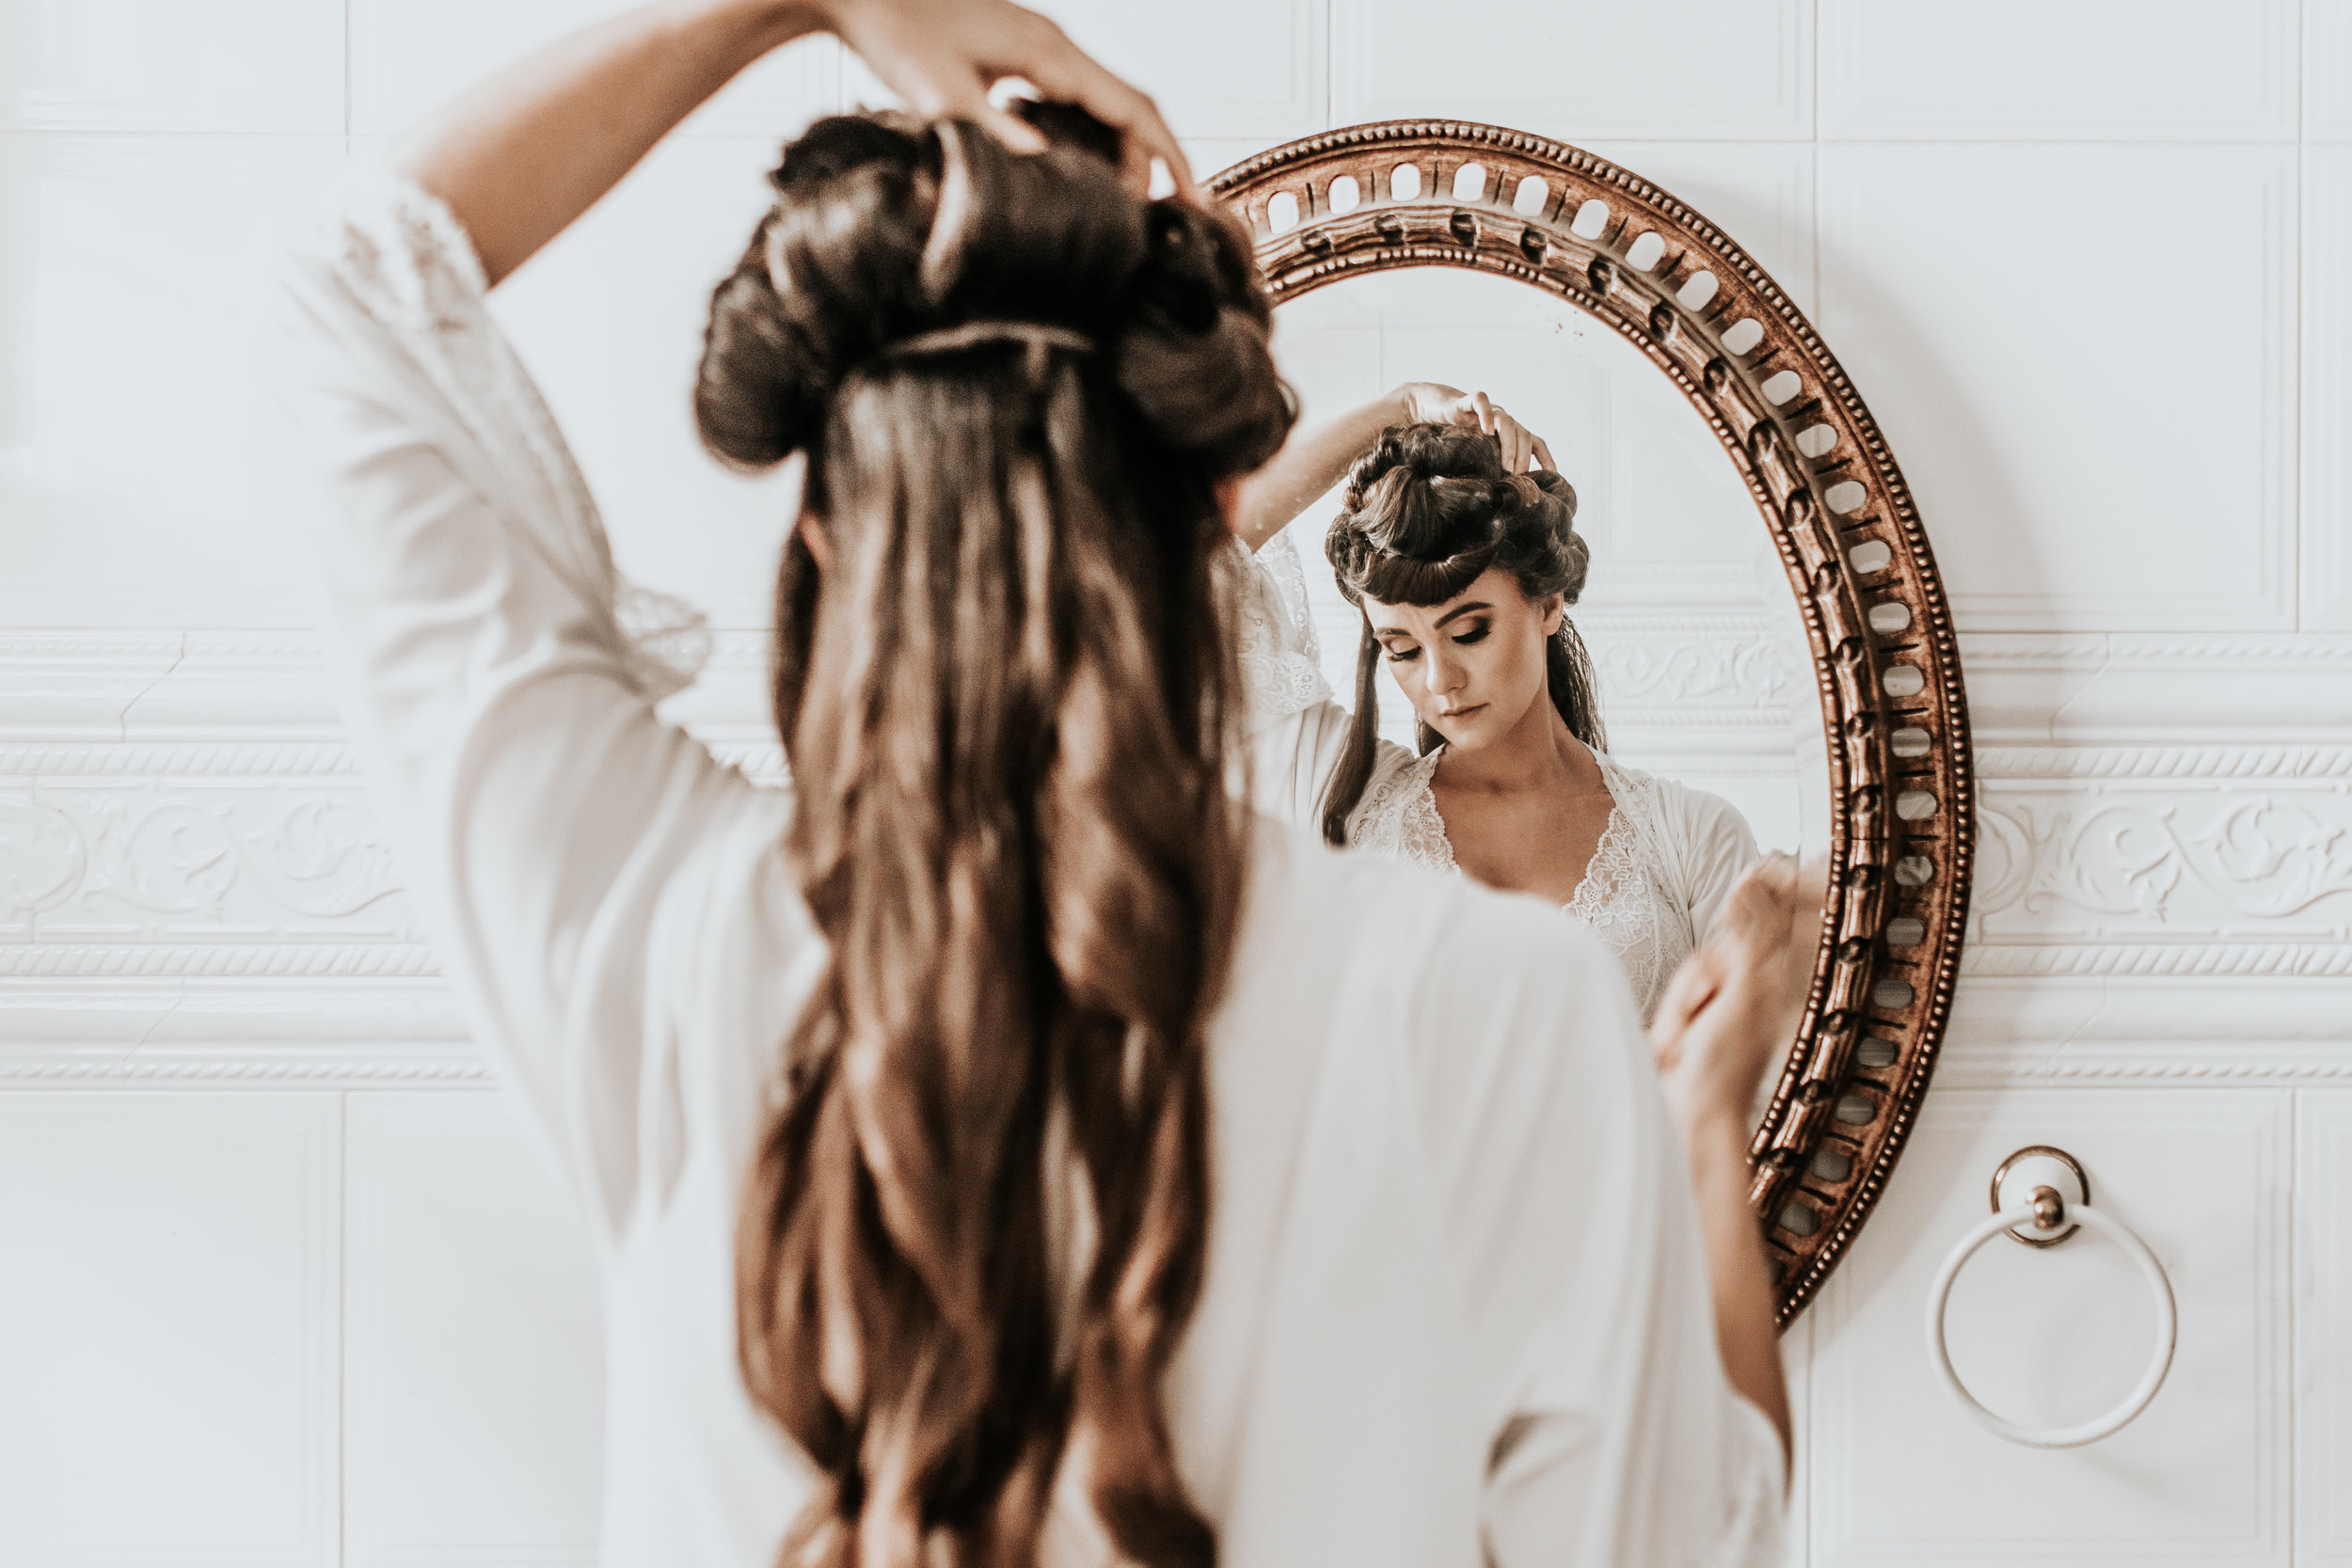
About eight months in to my curly girl journey
Combs and brushes: The idea behind this one is that your fingers are more intuitive. You can rip right through a knot with a brush, but this will break the hair and cause frizz. You’re pretty unlikely to rip through a knot with your bare hands, so the method states to detangle slowly with fingers when the hair is covered in conditioner. I can’t detangle mine properly with my fingers, so I use a gentle tangle-teaser and it’s great.
Scents: Fragrances in beauty products are a massive cause of dandruff and allergic reactions. They’re strong and abrasive and you wouldn’t think it, but they can damage your hair quite substantially because they’re so strong. If you like scents, choose gentle and natural ones. I have used eucalyptus and nothing terrible has happened.
Silicones: Silicones are a major ingredient in a lot of non-curly girl friendly conditioners. They’re a little like plastic - they’ll coat each strand in a layer of plastic that moisture cannot penetrate. The are insoluble to everything except sulfates. Over time, silicones build up on each strand. They dry it out because moisture can’t get in, and weigh it down. In time, this will stretch curls until they disappear. I never use silicones.
Alcohols: Again, these are in most products but they’re very drying, and strip the hair of moisture. You wouldn’t put alcohol all over your face - same thing goes for your scalp and hair. I avoid as many alcohols as I can.
Terrycloth towels: Sounds like a weird one, but using a regular towel to dry your hair will make it frizz up so hard you won’t know what’s going on. They’ll disrupt your natural curl pattern fiercely. Instead, opt for a cotton T-shirt or microfiber towel. I use a small gym towel.
Dyes: You hair can only live its best life when it is in its natural form. This means no dyes. Having said that, a lot of people use more natural dyes with no problems. I have used Lush henna and Rainbow henna with no problems because they’re a stain, not a dye.
Want to know if your products are CG-friendly? Find the ingredients online and paste them into Curlsbot (link below!) and you’ll find out instantly.


Curly Girl Do’s
Use a co-wash: As mentioned above, I don’t use a co-wash because they’re too thick for my hair - I can’t even put regular conditioner in up above my ears because it all just goes lifeless and flat, so I stick to curly girl-approved (CG) shampoos. If you’re hair is thick or super dooper curly, a co-wash might be right for you. It has cleansing elements and is a little thinner than a regular conditioner to leave your hair clean and nourished.
Only cleanse your scalp: There’s really no need to douse the length of your hair in shampoo. Believe it or not, if you focus on your scalp alone, the shampoo will coat the length as it rinses out under the shower and cleanse it that way. Putting shampoo directly on the ends - the most sensitive part of the cuticle - will likely result in dryness.
Deep condition: This one is really important to ensure your hair is getting the right amount of proteins and moisture. Proteins (products with avocado, wheat and soy, for example) will strengthen the cuticle and enhance the curl pattern, while natural moisturisers (aloe vera, flax seed, coconut) ensure it’s soft and shiny. I’m in between deep conditioners at the moment, but I like the Shea Moisture Jamaican Black Castor Oil deep conditioner.
Scrunch in products: I always scrunch my deep conditioner and styling products in to my hair to ensure it really sinks in, and it actually works. I basically tip my head upside down, put conditioner in, make sure it’s all detangled and squish the hair up, encouraging the curl pattern. When the conditioner is rinsed out, I do the same thing with my styling products ( Not Your Mother’s Kinky Moves Curl Defining Hair Cream) and squish it up between each fist to encourage the curl pattern. Then I use a microfibre towel to squish it up again, and wrap my head in it for about 15 to 30 mins.
Let you hair air dry: I know this may be hard for people in cold places, or for people who need to dry their hair early for work - it’s more of a guideline, but reducing heat where you can does make a difference.
What now?
Now that you know the curly girl method, what happens? Well, I’m building a list of posts to help you get to the next stage, but in the meantime take a look at ways to embrace your natural hair and figure out your curly hair type to determine what products will work in your hair.
Those are the basic rules, but I said it before and I’l say it again - do what works for you. If something doesn’t work, scrap it and test something else out. I find YouTube is a pretty good resource - specifically Penny Tovar because she’s just so informative and hilarious and she’s taught me a lot about how to use products properly. Ayesha Malik also has the greatest hair I’ve ever seen, probably because she takes her hair super seriously and spends hours on it - I don’t really see myself taking my hair as seriously as she does, but I’d be interested to try it and see the results - but I guess the pay-off is spectacular hair.
Started the curly girl method? Let me know in comments below!
Like it? Pin it!

You Might Also Like…

How To Travel With Makeup: Maximising Space While Looking Amazing
Want to know how to travel with makeup without forcing a thousand tiny bottles, applicators, and powders in to your suitcase? We’ve got a few handy tips and tricks so you can still take everything you need to look amazing on the road, without needing an extra bag to carry it all.
Travelling with makeup is something I’ve always done.
Even when I backpacked through India, I had a small stash of cosmetic basics that I whipped out on a daily basis. I wouldn’t have had it any other way, but I did feel like there was a bit of judgment around it because, well, when you have a small amount of space to carry all your travel gear, vanity feels unnecessary.
Whether you’re travelling for three days or three months, every corner of your bag matters – especially if you’re backpacking – and if loved ones are helping you pack for your trip, they can be a bit judgy about what you choose to pack, asking why you’re bringing three bottles of foundation instead of an extra pair of flip flops. Suddenly the decision you made to fill one corner of your bag with makeup feels almost as though you’re prioritising vanity over practicality.
Fun fact: You’re not.
Makeup is often seen as non-essential – something people use to look different, or ‘better’, and many people assume that wearing makeup all about ego and aesthetics, but realistically people choose to wear makeup for a range of different reasons. If you’re someone who feels happier and more confident with makeup, then good for you! The decision to travel with makeup is yours, and should be a guilt-free experience.
The only real thing you’ll want to consider is how to use as little bag space as possible, which means keeping your products to a minimum. Here are a few things to bear in mind.
(There are some affiliate links in this post, but clicking on them won’t cost you anything extra. Check my disclaimer for more info)


COMBINE PRODUCTS
If you’re someone who has separate containers of concealer, foundation and setting powder, consider looking for one single product that contains qualities of all those things.
You’re looking for something that applies as a liquid and it dries like a powder, giving you two products in one. Foundation-to-powder products have been around for decades with varying levels of quality, but these days, they’re actually pretty good, and all it means is that you save more space. Win!
My favourites are the Inika rage because they’re made with natural products, and they’re vegan, made in Australia, sold around the world, and they look great on your face!

BRING ONE APPLICATOR
Beauty companies and influencers have done a pretty good job at convincing humans of the world that they need an entire brush set and damp sponges to effectively do their makeup.
And sure, a smaller concealer brush will probably apply product under your eyes more effectively than a larger foundation brush, but when you’re travelling it’s not always possible to travel with a 20-piece brush set and sponges.
Think about what you actually need to get the job done – will your under eyes still look ok if you use a slightly larger brush to paint them? Your under-eyes may not look as flawless as you want them to, but they will probably be ok. The same goes for all brushes you normally use – think logically about what will get the job done.
And remember, you can always use your fingers. It’s technically frowned upon, but hey! You’re travelling and it’s you face – you can do what you want.
Hint: Depending on where you’re going, and the length of your trip, I highly recommend leaving the sponge or Beauty Blender at home. If the water in your destination isn’t good for drinking, you don’t want to put it on your face, and wetting your sponge everyday with clean water will use up a lot of bottled water. Regardless of the water quality, odds are you’ll also have to cram your damp sponge into your bag when it’s time to move on, which means the sponge will be in a dark, damp place for hours. Sponges are breeding grounds for bacteria as it is, and you might find you have to throw it out at some stage through out your trip.

PACK FOR LONGEVITY.
Do you have a tube of liquid brow filler or eyeliner? Consider bringing a pencil instead. Pencils can last years and remain sanitary because you can just keep sharpening them and shave off the used part after a while.
They’re also cheaper, they don’t leak or dry up, and where you might need a few tubes of liquid brow filler, you’ll probably only need one pencil. They’re also much less likely to sweat off, and you don’t have to wait for them to dry. I’ve been using a brow pencil with a smaller brush on the end, and it’s seriously the best!
PARE IT BACK
Think about what aspect of makeup is the most important to you. Maybe you have dark circles under your eyes, uneven skin tone, or hooded eyes – whatever element you feel the need to cover up is what you should focus on, and disregard the rest.
For example, I’ve always felt the need to cover up my uneven skin tone, so the most important aspect for me is foundation. Sure, I like highlighter, eye shadow and lipstick, but I’m ok without them – using those extra products doesn’t drastically change the way I feel about my appearance, so I priorities foundation above those other products.
If you feel good about yourself having covered up your dark circles, you’ll want to focus on those products before lipstick, bronzer, and eye shadow. That probably means a colour corrector and foundation before anything else – those are your essentials, and should be all you need.
YOU DON’T NEED A MAKEUP BAG
There, I said it.
Even if you get a small one, they’re still bulky and take up way more valuable space than necessary. Why try and cram a makeup bag in to your backpack or suitcase when you can fit an eye pencil and foundation bottle in to the tiniest spaces in your carry-on?
If you’re worried about the sanitation of your applicator, give it its own pouch in the form of a clean sock you’re not going to wear, or cut a rectangle of material from a shirt you don’t wear anymore and roll it up. There are a lot of options outside bulky makeup bags.
TRY MAKEUP ALTERNATIVES
Look at what makeup you’d like to bring, and see if you can replace it with something you’d be packing anyway. For example, if you’re packing fake tan, you can actually mix some in with your face mosituriser at night, and you’ll wake up in the morning looking like you have foundation on. True story!
You can also use clear lip balm as a highlighter, use a spool brush with some water on it to elongate your eyelashes, or use a CC cream or tinted moisturiser with SPF for an all-in-one moisturiser/sunscreen/foundation. There are loads of makeup hacks like this out there, and you can save so much space.
So there you have it! Makeup doesn’t have to take up a lot of room in your bag if you think a little outside the box and consider some alternatives :)
Do you have travelling with makeup hacks? Let me know in the comments below!
Like it? Pin it!

You Might Also Like…

I Tried the Frank And Oak Subscription Box. Here’s What Happened.
Is the Frank And Oak ‘Style Plan’ Subscription Box worth it? I gave a go and here’s what happened.
If you’re in North America and Facebook detects that you’re remotely interested in clothes, you’ve probably come across ads for the Frank And Oak monthly subscription box, and hovered over it, wondering if it’s really worth it.
There’s no subscription fee and you can opt out of a certain month, or unsubscribe completely at any time for no cost whatsoever. You can also return any items you don’t want within 30 days for a full refund (they’ll even pay shipping), and they’ll only keep a styling fee of $25 if you return everything. This means that if you received nine items and only keep one, they won’t charge the extra $25.
On top of that, all their materials are sustainable and ethically sourced from around the world, everything is recyclable (including the tags), and their clothes are very practical and made to last. Considering the horrid effects of the fast-fashion industry (looking at you, H&M), Frank And Oak know where it’s at.
Anyway, back to the box…
My personal style can be a little out there – I don’t hold back when it comes to glam makeup, fancy (thrifted) skirts, and giant platforms. This can (and has) resulted in some unwanted attention in the past, so when I move to a new city, I like to check out the fashion trends so I know what to expect. Knowing I was moving to Quebec in a matter of weeks, I decided to subscribe to the Montreal-based fashion box to see what French Canadian style was all about.
Here’s what happened.
Frank And Oak Style Plan: A Review
After drinking the proverbial Kool-Aid and clicking on a <gasp> Facebook ad, I arrived at a beautiful-looking website and was asked to pick from the men’s box or the women’s box, and place a range of style preferences (preferred patterns, whether I liked casual, classic, or creative styles, colours I’d never wear, sizes for different items of clothing) and what I would usually spend on shirts, dresses, pants, ect. I chose the cheapest in all areas.
Everything was very visual – I was asked to select a range of preferred outfits and items from images, and knew exactly what I was selecting at all times. It was an easy process and I felt confident about my choices.
Two days before the box is due to be dispatched, I would get an email to preview the box and confirm the items.
It should be noted that if you don’t confirm or decline the box for that month within two-days, the box is automatically confirmed, your credit card is billed, and the box is shipped.
Box 1
I was road-tripping around Jasper, Alberta with no internet, and had no idea the email for my first box had arrived. Three-days flew by and, low and behold, when I got back and realised more than $300 had been billed to my credit card for clothes I’d never seen before, I immediately contacted Frank And Oak to explain the situation.
Surprisingly, they were extremely accommodating. Since the box preview fell over a long weekend, they hadn’t shipped mine yet and happily gave me a refund.
Crisis averted, and I was looking forward to actually being able to preview the next month’s selection.
Box 2
I was living in Montreal by the time box two came around, so I was super-excited to take a look.
The previews come with nine stylist-selected items already in your box, with a price on the top right-hand corner of the page. You can thumbs-down any items you hate and never want to see again, then refresh to see new items in their place.
I wanted to see allll the options (maybe there were ones I’d like better if I kept going?), so I kept thumbs-downing things to see what else they had, and then eventually I ran out of options, the price dropped significantly, and I couldn’t go back and thumbs-up anything I rejected.
I used the chat function to ask a human if there were any more items, and some new ones popped up, though because I look terrible in pastel colours, I had to reject more and the number of items diminished again. I ran in to this problem a couple of times.
Eventually someone at Frank And Oak told me they might be adding more items later in the day, so I waited.
When I got back to the preview screen, most items I wanted were sold out and the cost of the box was hovering at around $200 for what I perceived as less items.
Since none of the items I really wanted were available, I decided to skip that month and wait for the next one.
Box 3
Third time lucky, right?
The email came, I previewed the box immediately and liked way more items than I had the previous month. Win! I thumbs-downed a few odd colours that would make me look like I had liver failure, but kept most of them, including some jeans, a scarf, a fluffy navy sweater, two black dresses, some 40s-style tweed pants, black boots, and a few other things.
For the first time in three-months, I hit ‘confirm’ and almost immediately got a receipt. It cost $224, but for nine items, it looked like a pretty good deal. So far so good! It wasn’t until I got the shipping notice that I realized what was actually going on.
You have to confirm the items you want to keep by clicking on the image. There’s no thumbs-up button to do this, you just have to know to double-click the items you want. I didn’t do this on any of the items, so the top three were automatically confirmed for me, and the shipping notice read that I was only receiving three items for $224, rather than nine.
One item was a $70 scarf (to put this in perspective, the last scarf I bought was $1 at a garage sale) and I tried really hard not to think about it.
Because I’m living in Montreal, impressively, the box arrived the next day. There were indeed three items in the box and, I have to say, they were beautifully folded and packaged.
What was in my box

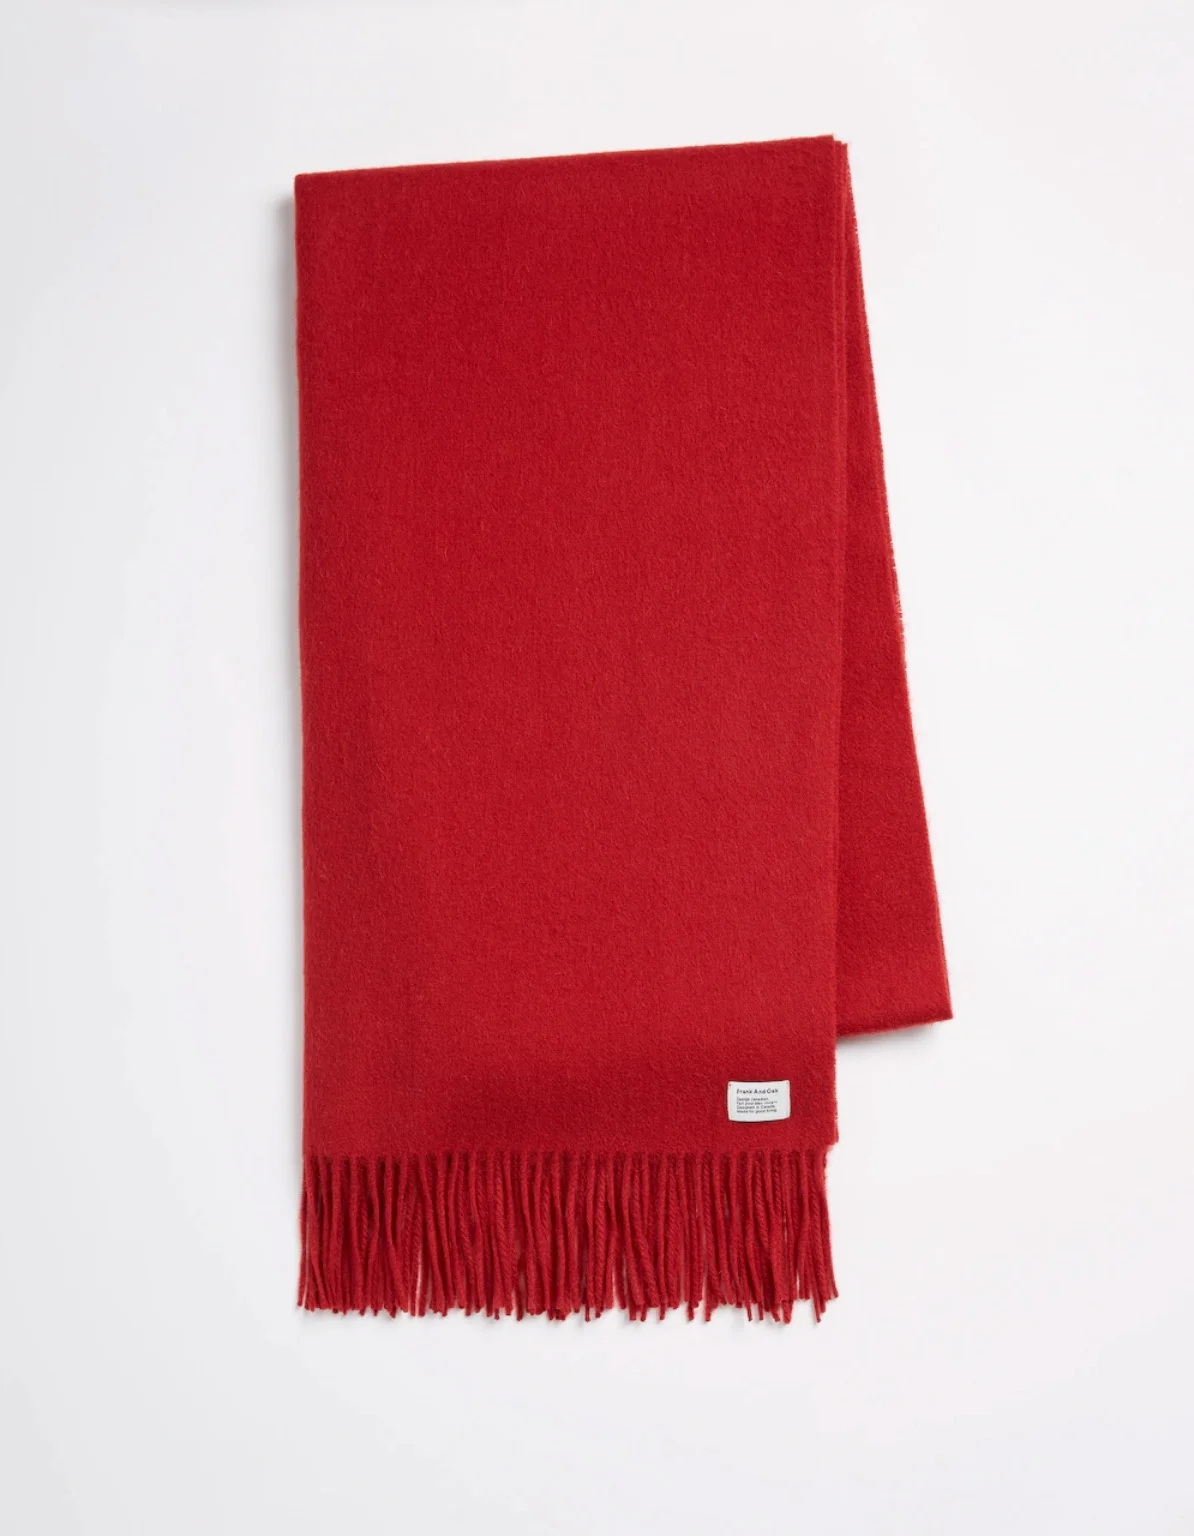

The first item I picked up was the $70 scarf. It was a deep red, finely woven, and thick enough to withstand a Canadian winter, but not chunky. It was stunning. I was floored. The picture above doesn’t do it justice.
I’m a traveller so I usually thrift clothes, or buy cheaper ones, so wearing brand on the higher end of the scale was an experience I hadn’t had in a while.
The sheer quality of everything was a nice surprise – it’s something I didn’t even consider, but it made deciding what to keep astonishingly difficult. All items were extremely well-designed, and made from soft and wearable materials that had a nice weight to them – something fast-fashion labels just don’t have.
The black dress didn’t look all that remarkable from the outside – it looked like a few other dresses I’d seen on racks everywhere for years. It was shorter in length and sheer with small buttons down the front, but didn’t feel like it would blow everywhere in the wind or cling to my tights on cold days.
The sweater was thick and warm. I think I was imagining something slightly oversized when I saw the preview because I’m small and things usually look big on me, but it was surprisingly fitted with room underneath for layers, and sat just above my hips.
On top of that, everything fit perfectly.
Is it worth it?
The thing with subscription boxes is that they’re meant to be great value. I’ve signed up to a few beauty boxes in the past, and have received quite a few items for a seemingly low cost, so I assumed this would be a similar thing.
While you do save around 20% on each item with the Frank And Oak Style Plan, for regular humans who work for a standard wage in Canada, it’s not cost-effective. What I didn’t realise upon signing up is the more you ‘confirm’ to your box, the higher the price goes. For example, I added a Thinsulate snow coat recently and, with three other items in the box, the cost of the whole box jacked up to more than $500. Sure, you’re getting a discount, but it’s not a huge one.
All in all, if you’re happy to spend a little more on quality, durable and sustainable attire that will last, then yes, the Frank And Oak Style Plan subscription box is totally worth it.
If you’ve been gawping at the cost and can’t fathom spending that much money on only a couple of items, then maybe it’s not for you, but I wouldn’t rule it out. Signing up is a risk-free process – you never pay for anything you don’t want, and if you proceed with the box and don’t like any items when it arrives, it’ll only cost you $25. If you can part with $25 or more for the sake of curiosity, then I’d give it a try.
At the end of the day, I probably wouldn’t have picked out any of the items I received from a rack in a store, which is kind of the point of investing in a stylist. In that capacity, it’s a fun and interesting thing to try.
Have you tried Frank And Oak, or another clothing subscription box? Tell me what you think in the comments below!
Like It? Pin It!

You Might Also Like…


AFFILIATES
I use affiliate links and advertising on this site, which just means that if you buy a product through a link on this site, I'll get a small commission (not all links are affiliate links). This is because all the content I provide here is free, and I want to keep it that way :)